|
My new Paasche AECR arrived a few days ago, and I just got an air compressor last night, so it is time to dig into preparation! 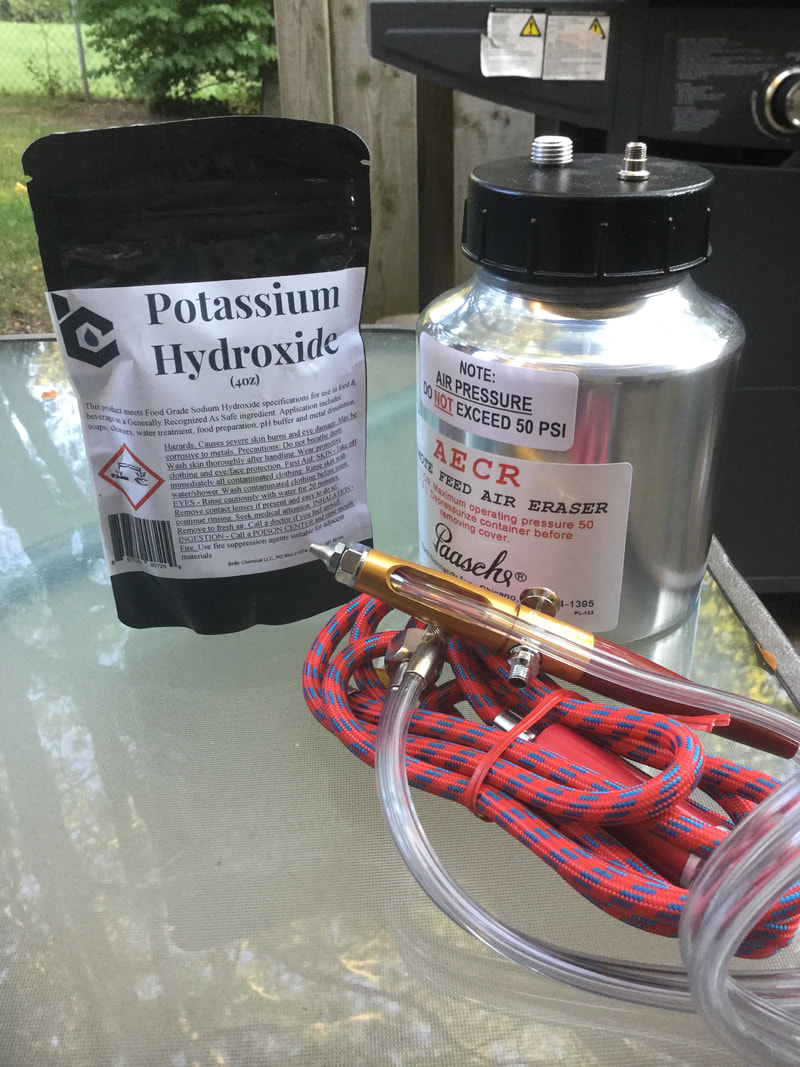 On the left is a 4 ounce bag of potassium hydroxide (KOH), 90% pure. It is a strong alkaline used as an ingredient for making soap. It reacts quickly to moisture in the air, so precautions are necessary in handling it. This is part of the "passive prep" approach: place a few flakes of the KOH on a fossil you want to remove matrix from, check in once every hour, and leave it for 4-8 hours before rinsing it off and repeating as necessary. I've done a preliminary soak but didn't see any real difference, so I'll have to try again. On the right is the air eraser with built-in moisture trap. 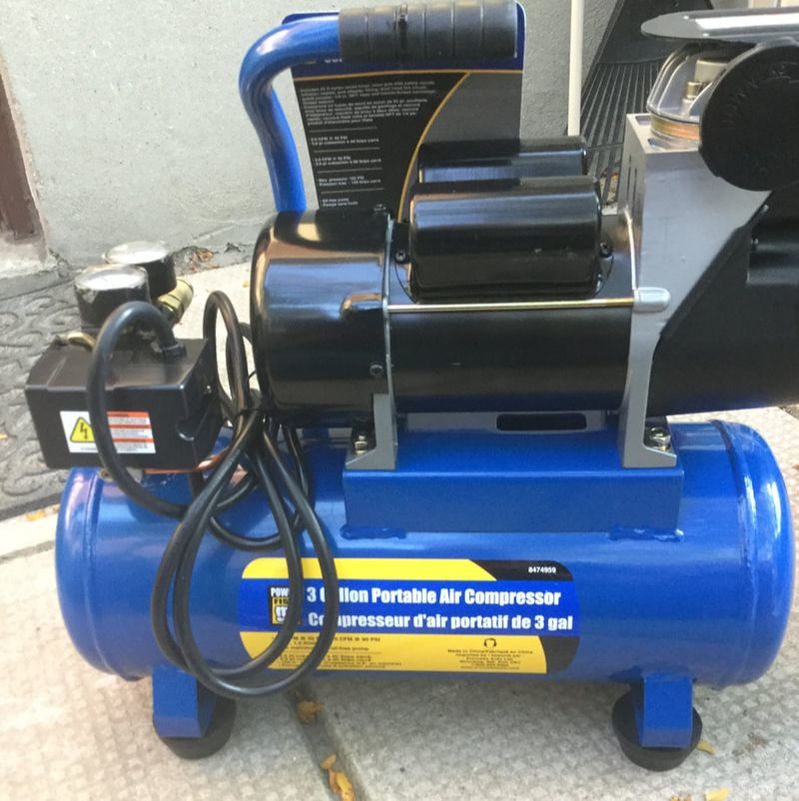 A 3 gallon air compressor purchased from Princess Auto, right out of the box. It is safety rated up to 150 PSI, but the air eraser only operates between 0-55 PSI. This compressor comes with a pressure regulator. It is a bit loud, and it cycles very often due to such a small air tank, but I wanted to make sure I'd be keen on preparation before shelling out over 500 bucks or more for a serious air compressor. I attached all the hoses and teflon-taped each connector to stop up any air leaks. 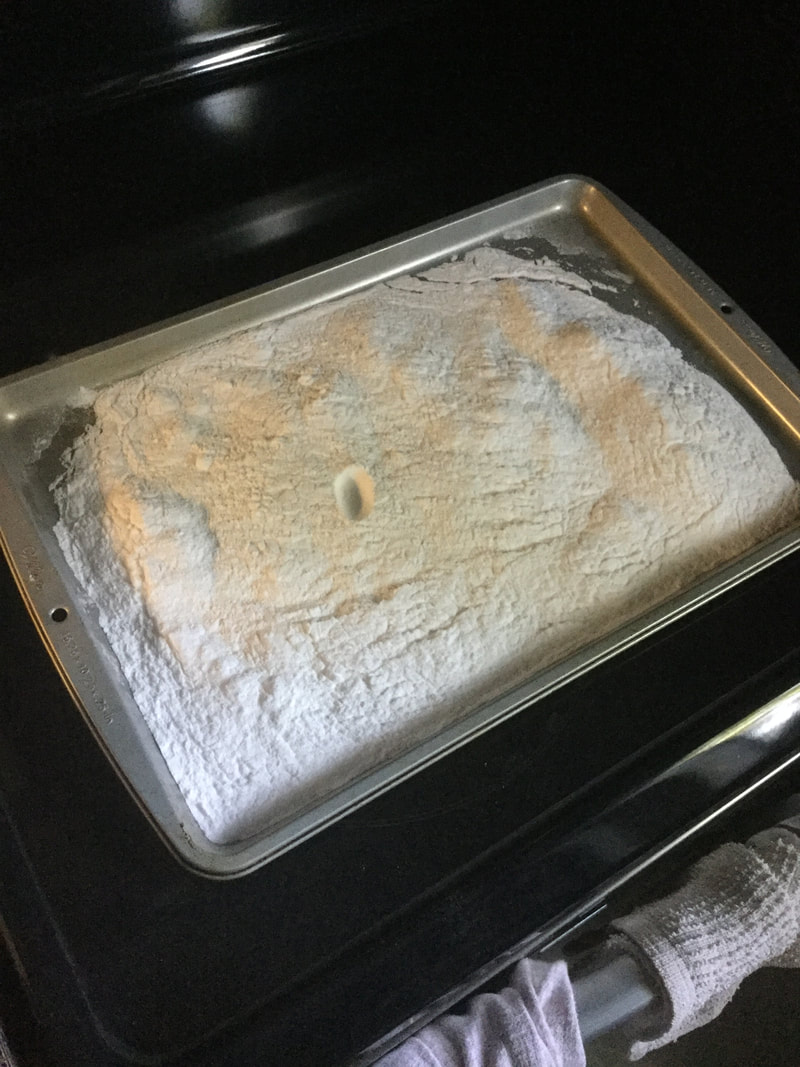 With the hoses all connected and ready, time to bake up some blast medium. I am using plain old baking soda, which should be fine for the kind of shale matrix I usually deal with. I spread this on the cookie sheet, bake at about 250 F for 20 minutes, let cool, and transfer it immediately into an air tight container. As baking soda takes moisture from the air, the baking process gets rid of the moisture, since any of that will cause clumping and clog the air eraser. So I'm ready to roll, but let's take stock of our safety equipment first. When using any blasting equipment where there will be fine particles, you certainly don't want to be breathing them in. As someone who is an ex-smoker, I'm pretty keen on keeping my lungs clean! I use a N95 dust mask, and have an additional high-grade respirator. I use full safety goggles and long thick rubber welding gloves as you don't want to accidentally abrade your hands. I'm doing my test run outdoors in the backyard. This stuff produces a lot of dust. When colder temperatures forces me back indoors, I will be building a sealed blast cabinet, and attaching a dust collection system like a shop vac.
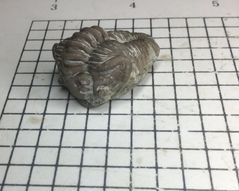
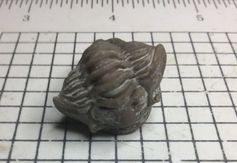
Time for a test run! It took me a few hours of fiddling around to get this thing to work, and I'm still having problems ensuring good air flow and the right amount of medium (if it picks it out of the canister at all). Pictured above is a before and after on a partial Greenops widderensis. I'm beginning my prep on junky pieces first to learn how to use this tool. No sense going right for the prize specimens and risking ruining them. As you can see, after about 5 minutes of abrasion, it has done an ok job removing excess matrix in the nooks and crannies, as well as matrix around the bug. Much finer, detail work may require affixing modified dispensers of about 18 or 20 gauge. 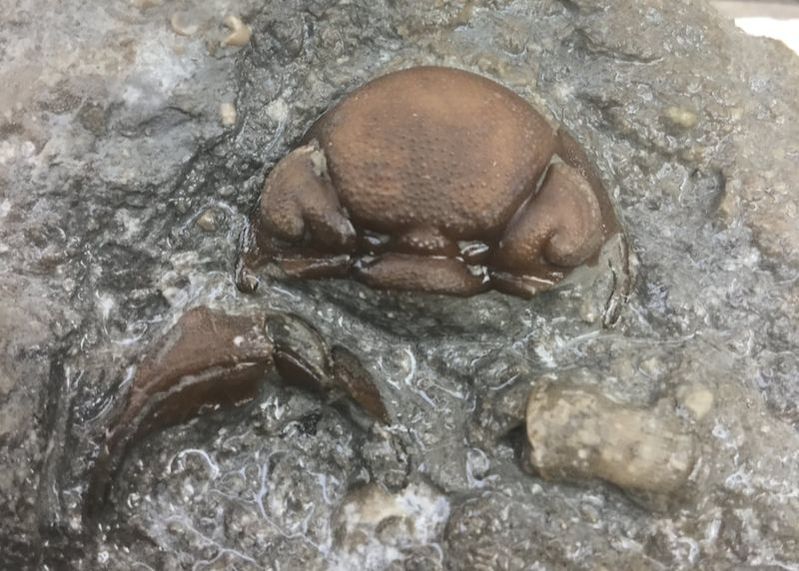 My next victim was this Eldredgeops rana cephalon from Arkona. Not too shabby. It can be slow going, so patience is required. 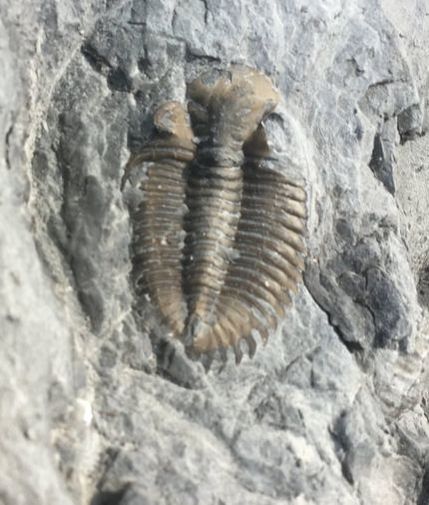 Another partial Greenops practice dummy. I love how it brings out the chocolate brown and gets rid of the dusty grey.
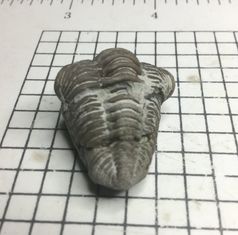
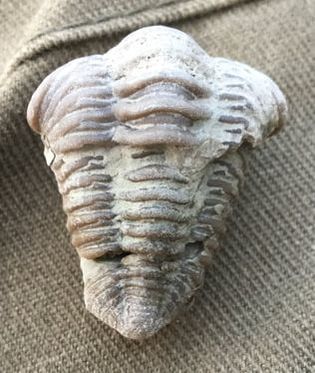
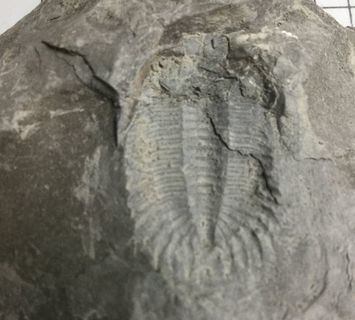
This is a semi-prone Flexicalymene senaria I picked up in Brechin, Ontario. This one is not only going to need a lot more work, but perhaps a stronger blasting medium than baking soda, such as dolomite given that the matrix is tougher than Widder or Penn Dixie shale. Still, a lot more detail is visible now compared to when I found it!
And just a quick before and after pic. The first is when I found it in the field, and the second after a bit of prep.
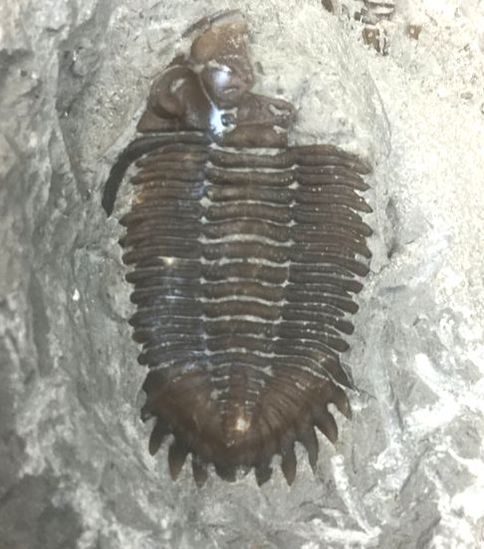
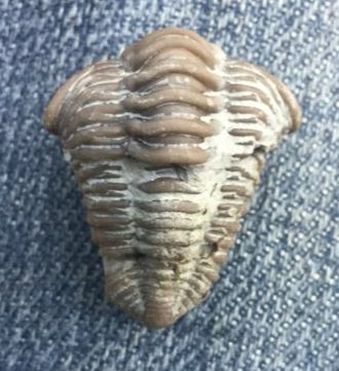
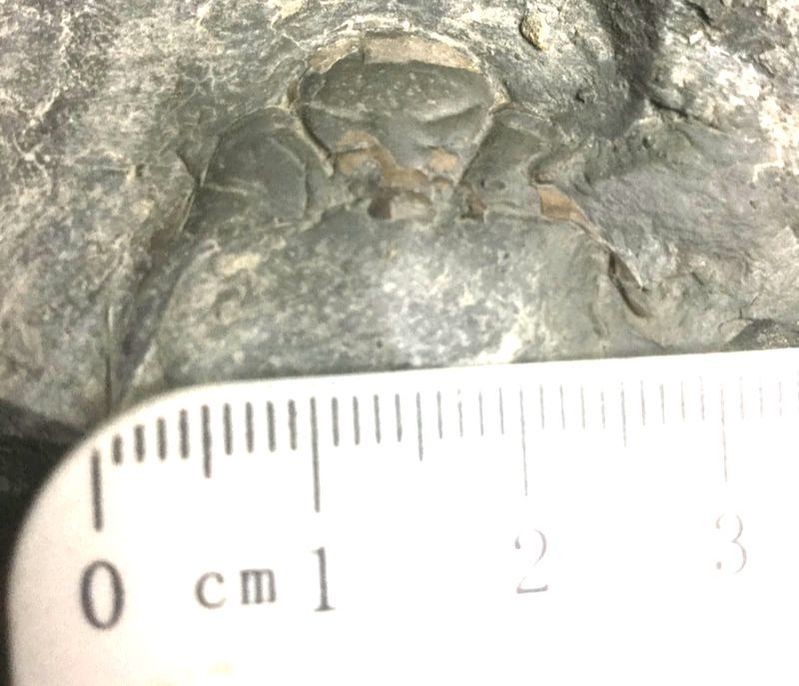
I did try out a few other specimens not pictured here. It seems to do a pretty good job on some brachiopods. I still have a great deal to learn about how to properly use this tool, and will be asking advice of prep experts, and practicing. Stay tuned: my next anticipated trip will be a return to Penn Dixie in October. It was just a week ago that we spent all day carving out big slabs of Widder shale from the productive Tornoceras layer above the brachiopod layer. With the weather holding on to summer by its eye teeth, it was an impromptu invitation from a fellow TFF member, Kevin, who is part of a fossil club that saw us loading up our tools and spending our Saturday in the sun. We began in the south pit. I spent the morning digging into the high energy coral biostrome of the Hungry Hollow Member, picking through the softer, shale layers. Apart from large rugose corals, there are brachiopods, pelecypods, bryozoan colonies, and trilobites. Because the deposition conditions were turbid, high energy environments, most trilobites only appear as fragments. 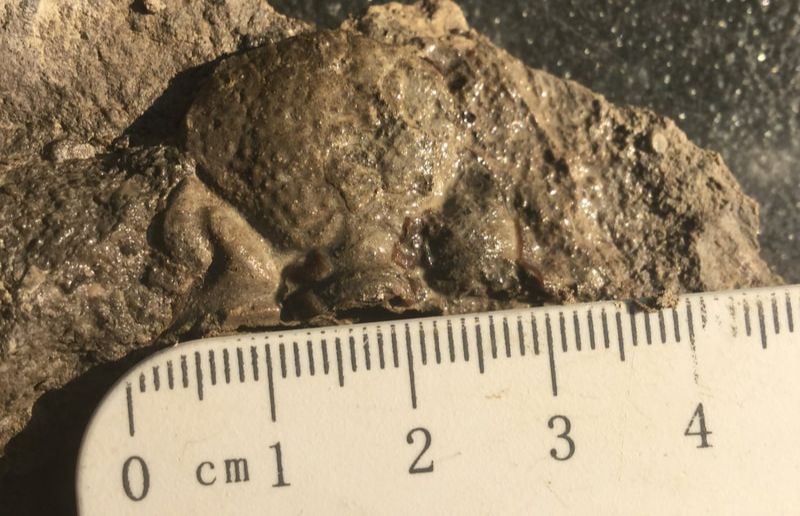 . Pictured here is one of many of the large trilobite fragments that can be found in this layer. The most common species in this layer is Eldredgeops rana. This one is fairly large, even for this site as evidenced by this plump and inflated glabella. Prepping it a bit more, this one is nearly 2 inches wide. 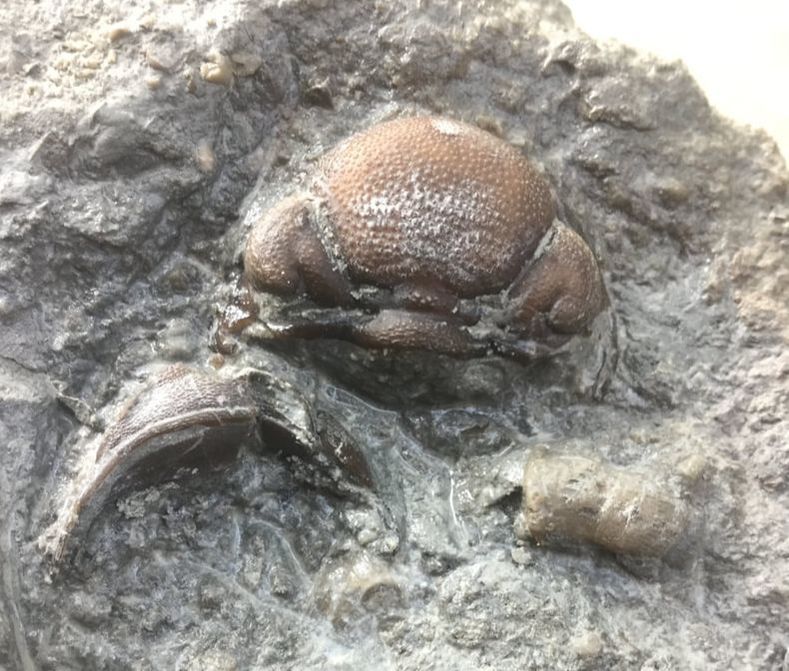 When I first found this one in the biostrome, all that was showing was the glabella. After some prep with a Dremel and then sewing needle, I uncovered more of the cephalon, but also discovered another cephalon to the bottom left. Sadly, neither are complete, but I was happy to bring out some detail. 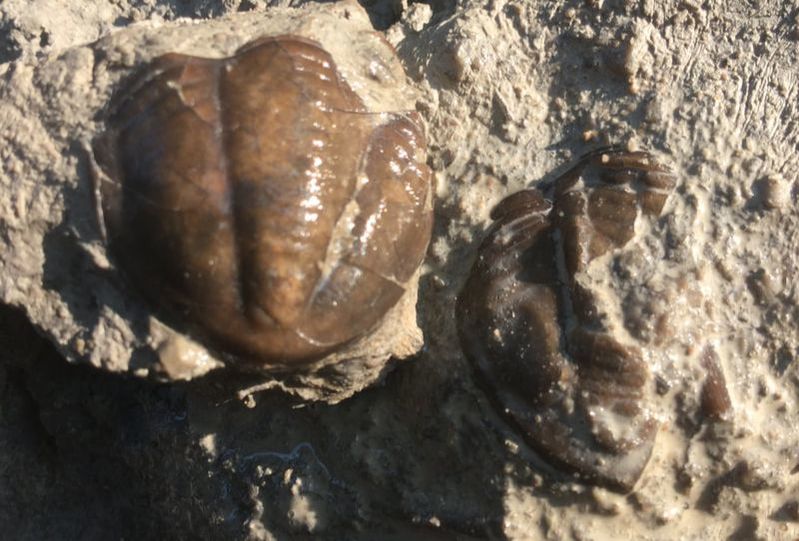 The second most abundant species in this layer is Crassiproetus candadensis. Pictured above is how one usually finds them: mostly pygidiums. The crushed one on the right has a slim chance of continuing into the rock, but I am skeptical. 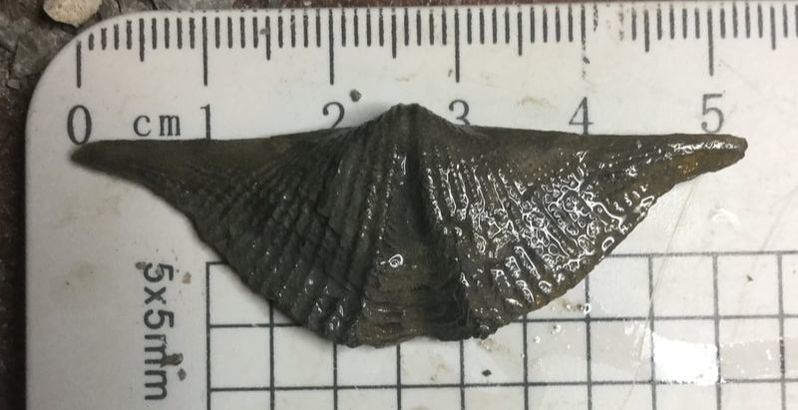 By the afternoon, we made our way to the north side, and I took others to my favourite cliff exposure. This spirifer is quite nice as they can be very delicate, so it is not common to acquire a matrix-free one with its wings intact. This one is over 2 inches wide. 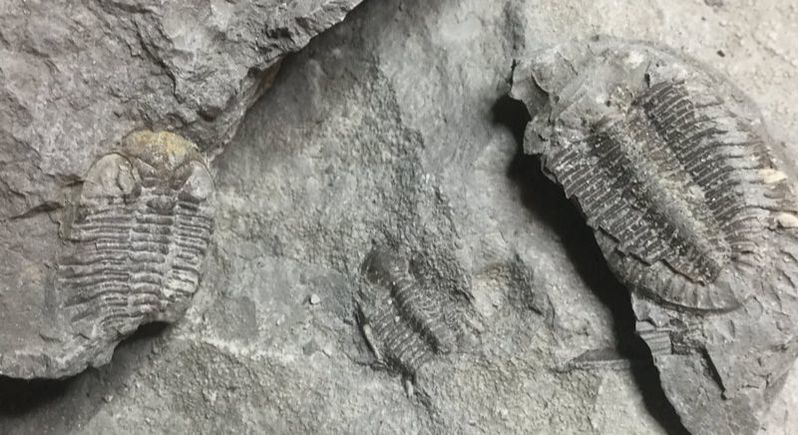 I spent almost four hours in the same spot extending a bench and moving about 30-40 cubic feet of shale. I mostly had to remove a lot of overburden and layers of less productive shale to get to my coveted low energy layer that rests atop the hard brachiopod layer, but also has a chance of finding very nicely preserved ammonoids and nautiloids. The productive layer is about 3-6 inches thick. Again, I failed to find a fully complete and pristine Greenops widderenesis, although the fact that they appear mostly complete as opposed to lots of shredded bits increases the probability of encountering one. I collected this for practice prep as I am expecting a Paasche air eraser in the mail in the next week or so. 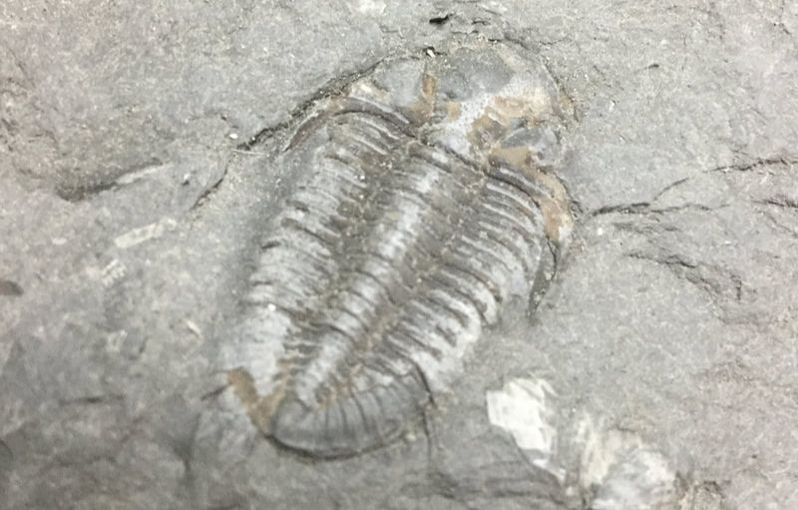 Of the 4 or 5 I collected on this day, this one was in the middle of a large slab of shale. It took a lot of careful finesse to extract it without having the shale split through it, or the vibration of the extraction process knock off any of its delicate and flaky shell. This one will clean up fairly nicely.
I don't usually bother with fragments unless they have something special about them. In this case, the cephalon is much larger than one typically finds for a Greenops. This one is over an inch wide. Typically, the species is a little over an inch long. On the right is an impression with some of the shell sticking to it. 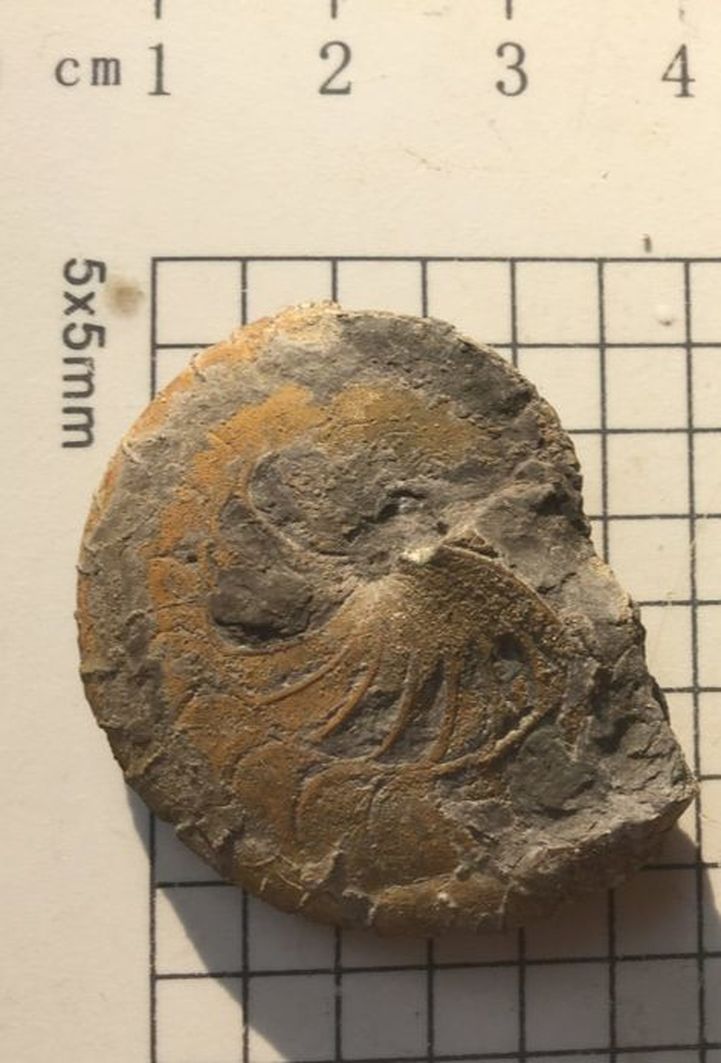 Last week I found a large and inflated Tornoceras uniangulare. So why not find another one? This one is slightly smaller and thinner than the one I previously found, but the detail on this one is fantastic. I think it is a gorgeous specimen. Not pictured would be my usual assortment of odds and sods I always found at Arkona. Although once again I was skunked on finding a pristine Greenops, I still made out very well, and got to collect with two members of the Fossil Forum, too. 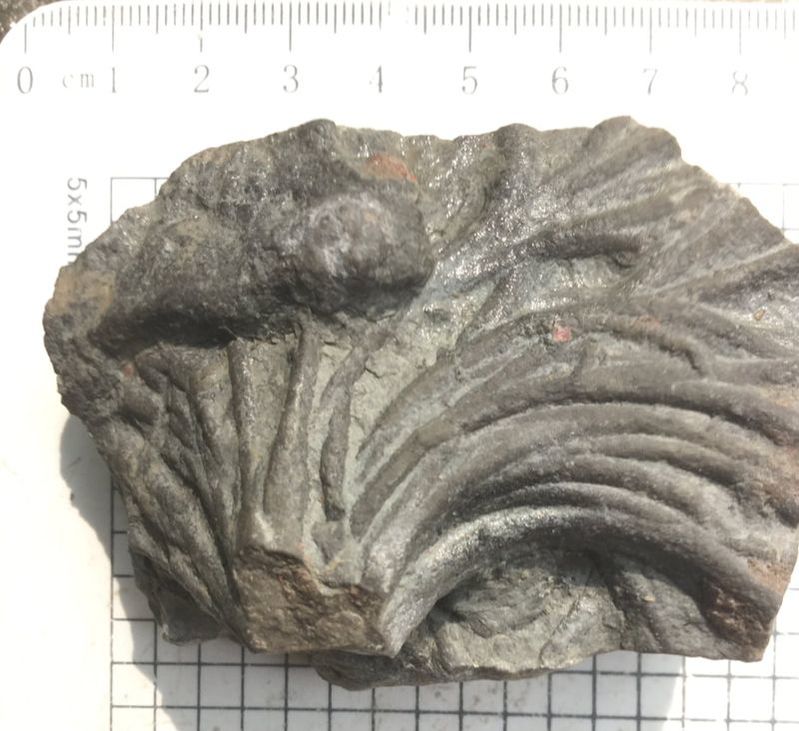 Lastly, this piece was not found in Arkona, but I rediscovered it while going through a trip bucket. I picked this up from the Verulam Fm in Brechin. Is it a big crinoid head? Nope. It is an ichnofossil; i.e., a trace left by an organism or organisms. In this case, it is Phycodes ottawense. This mop-headed piece is caused by worms burrowing repeatedly into the sediment from the same spot. Worm burrows bore me to bits, but this one was worth picking up due to its neat appearance.
But stay tuned: there will be at least three major events coming up: 1. Cleaning up a lot of fossils with the new air eraser once that comes and I get a good air compressor; 2. A multi-day trip return to Penn Dixie in October; 3. A possible trip back to the Ordovician on the hunt for Isotelus in Bowmanville in late October. Even without those upcoming events, this has already been the best collecting year ever. Deb and me spent the day at our usual Arkona spot, focusing exclusively on the calcareous layers of the Widder Formation in search of more complete Greenops widderensis. We certainly moved a lot of shale with results that may have fallen short of pristine specimens, but far better luck than we'd been having this year. Having zeroed in on a very productive layer, we were finding more relatively complete specimens rather than just bits.
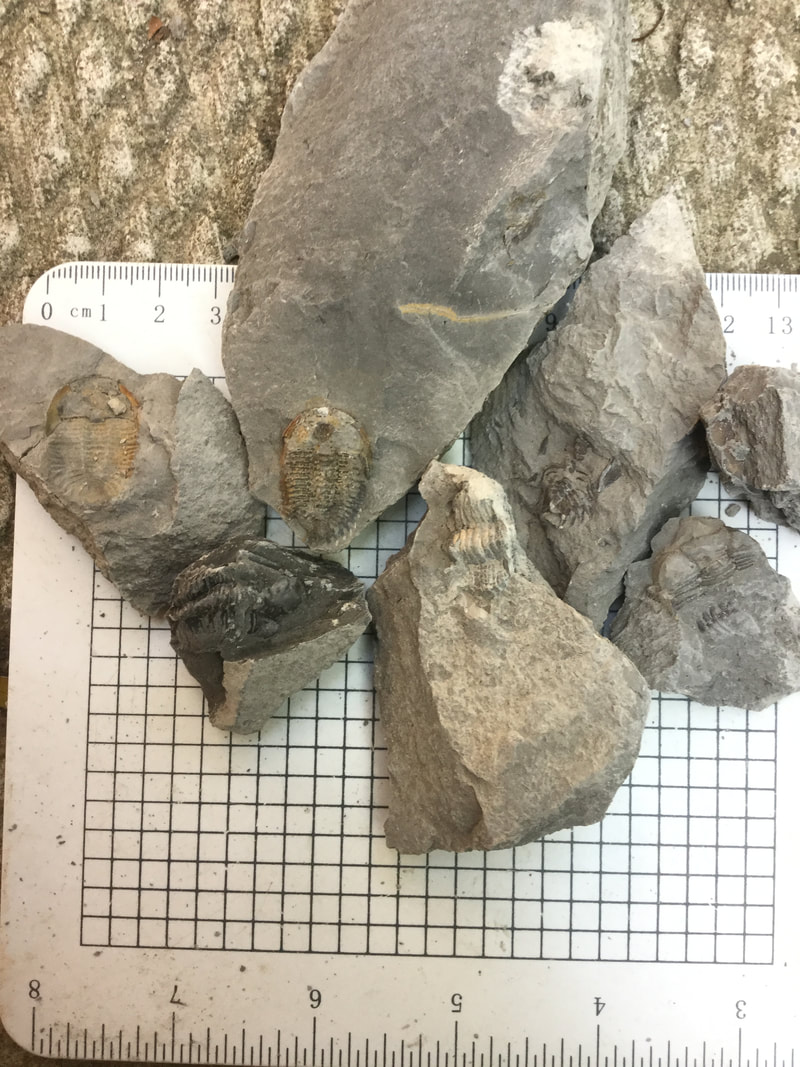
A mixed bunch of semi-partials on the left, and more complete specimens on the right. Sadly, even the complete ones are fairly damaged or distorted - that's just the way the Widder breaks. 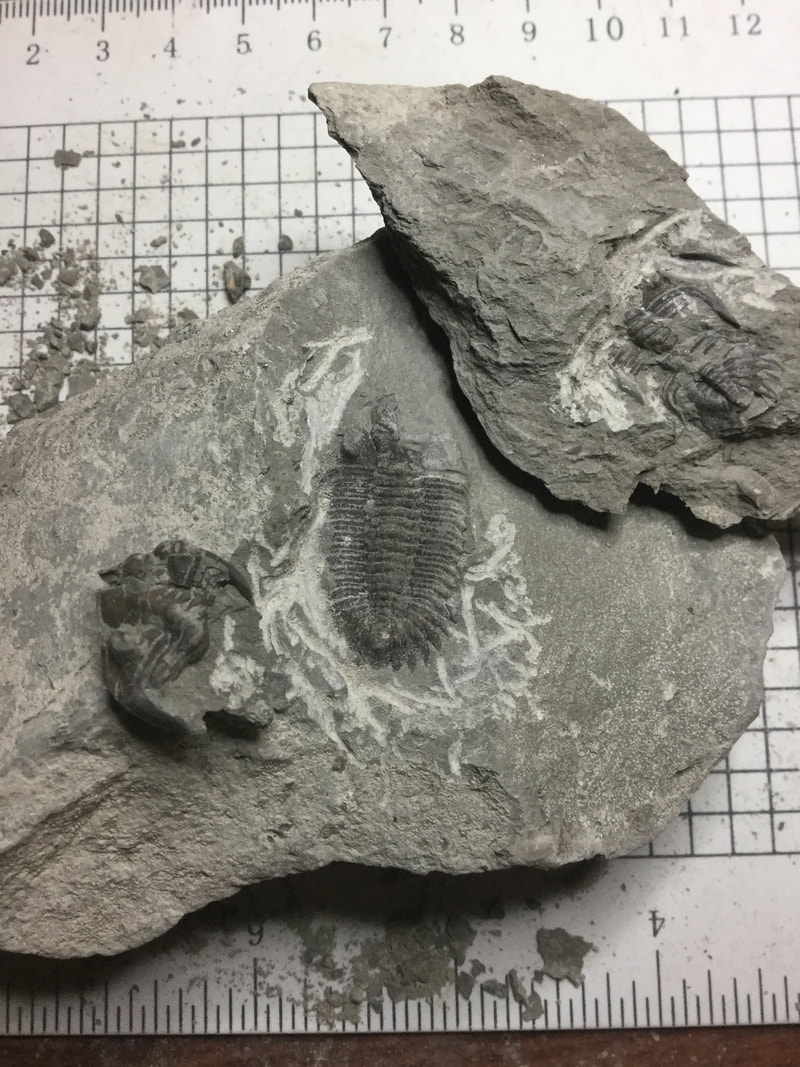 What some of these look like after a bit of prep. The one on the left is likely a complete roller, but far too delicate for the tools I have on hand to prep out better. The one in the centre is complete save for the disappointing damage to the upper right cephalon. The one on the right is likely complete, but crushed and would require far more precise tools under a scope to prep. 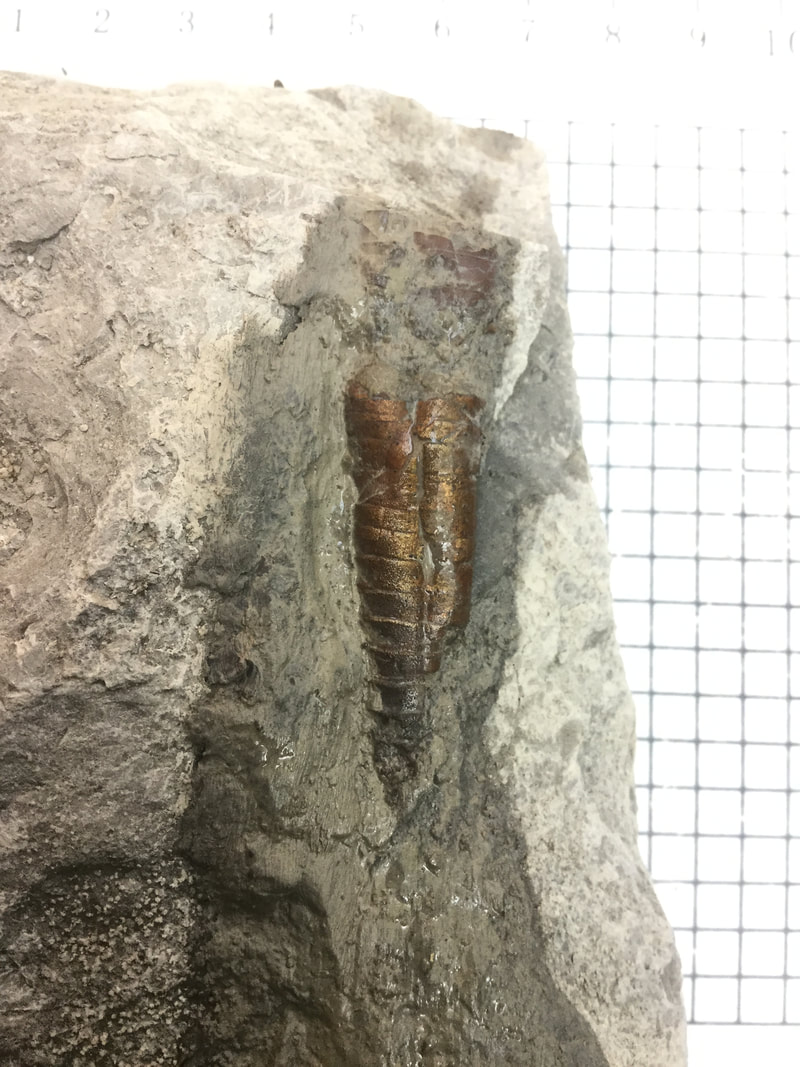 A heavily pyritized Michelinoceras was among the circumstantial finds. The layers with the higher percentage of full trilobites rests above the hard brachiopod layer, but will also have its fair share of nautiloids and ammonoids. There is also a thin yet productive layer beneath the brachiopod layer that has several ammonoids, but fewer trilobites overall. 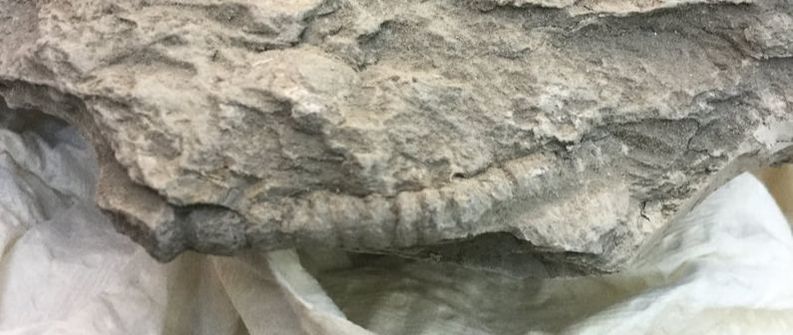 Generally, at this level of the Widder Fm, if it is long, thin, and not straight, it will be a pyritized worm burrow. In this instance, we have the appearance of fairly uncommon crinoid stalk which looks to possibly be terminating in a calyx (only some prep will determine one way or another). This would be the first evidence of crinoid I've seen this high up in the formation. 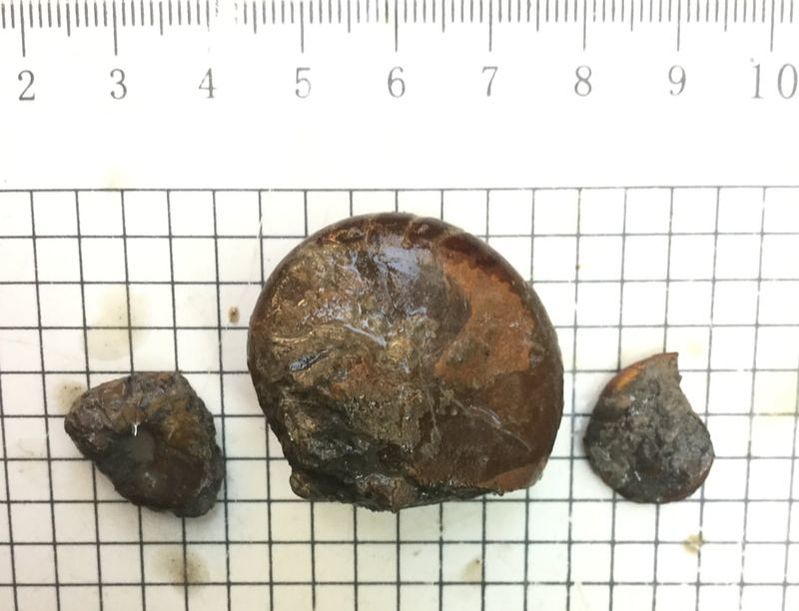 Ammonoids (Tornoceras uniangulare). The two little ones need a bit of a cleanup, while the middle is a whopper at 35 mm. The big one was wedged between two bedding planes in a large slab I was splitting. Although on the hunt for Greenops, this was a trip maker for me. It is fully inflated and intact - not terribly common for the larger ones in that shale as they tend to come out flattened and crushed. The smallest ones at the site (Tornoceras arkonense) come out of the Arkona Formation, and readers of this blog have seen pictures of several ones I've pulled out from there. 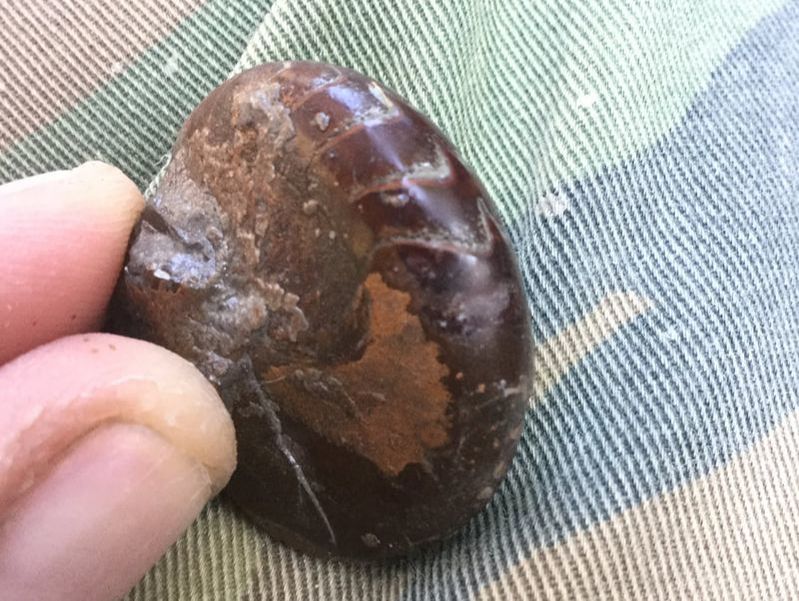 The detail on it is also quite good, and might look even better with proper preparation. Those suture lines are fantastic.  But perhaps the real trip-making prize goes to Deb for this find. This is a substantial piece of the arthrodire placoderm, Protitanichthys sp. (I think). It lacks the plate segments of a Bothriolepis canadensis. Most people just find tiny pieces of fish plate, so this one is a really great find. The exact species is not entirely certain to me yet, but the Devonian fish of the Widder are not well described.
So, although we didn't quite find any pristine trilobites this time, the stuff we found by chance in the same layers was more than worth the effort. Before signing off, for those who would like to see just the trilobites in the expanding collection, I've created a separate gallery page here. It can also be accessed using the green button at the top right of this blog. |
Kane Faucher
Archives
February 2024
|


 RSS Feed