|
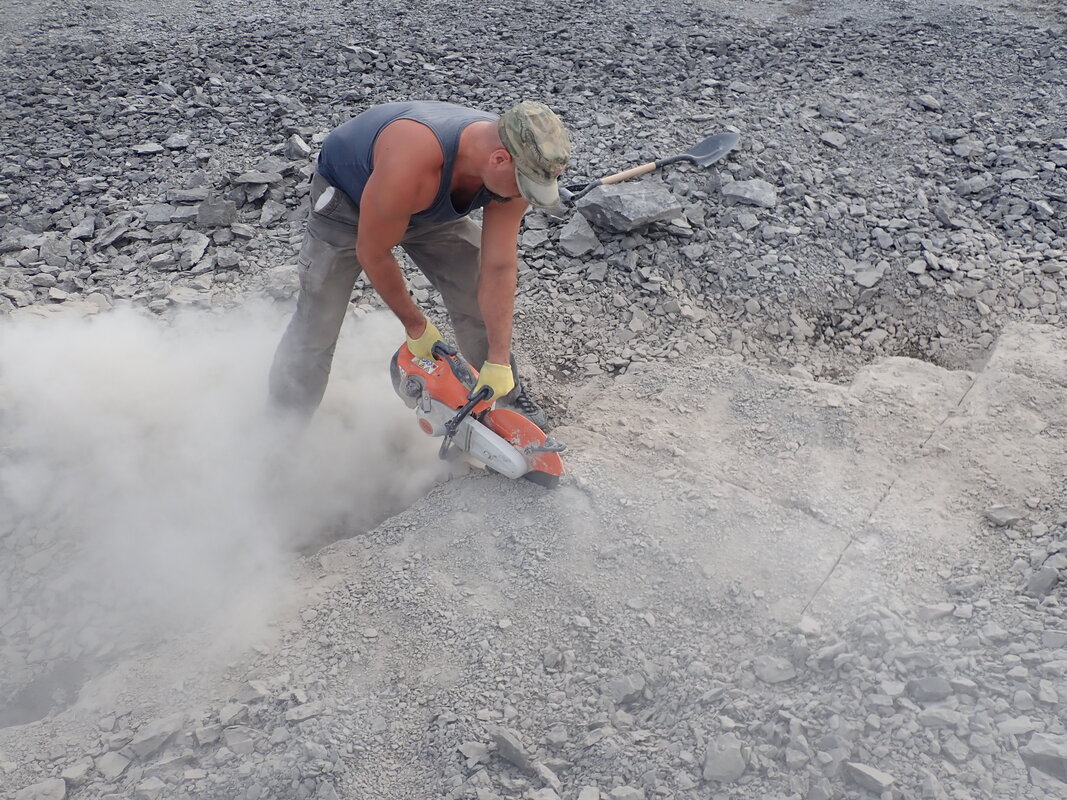
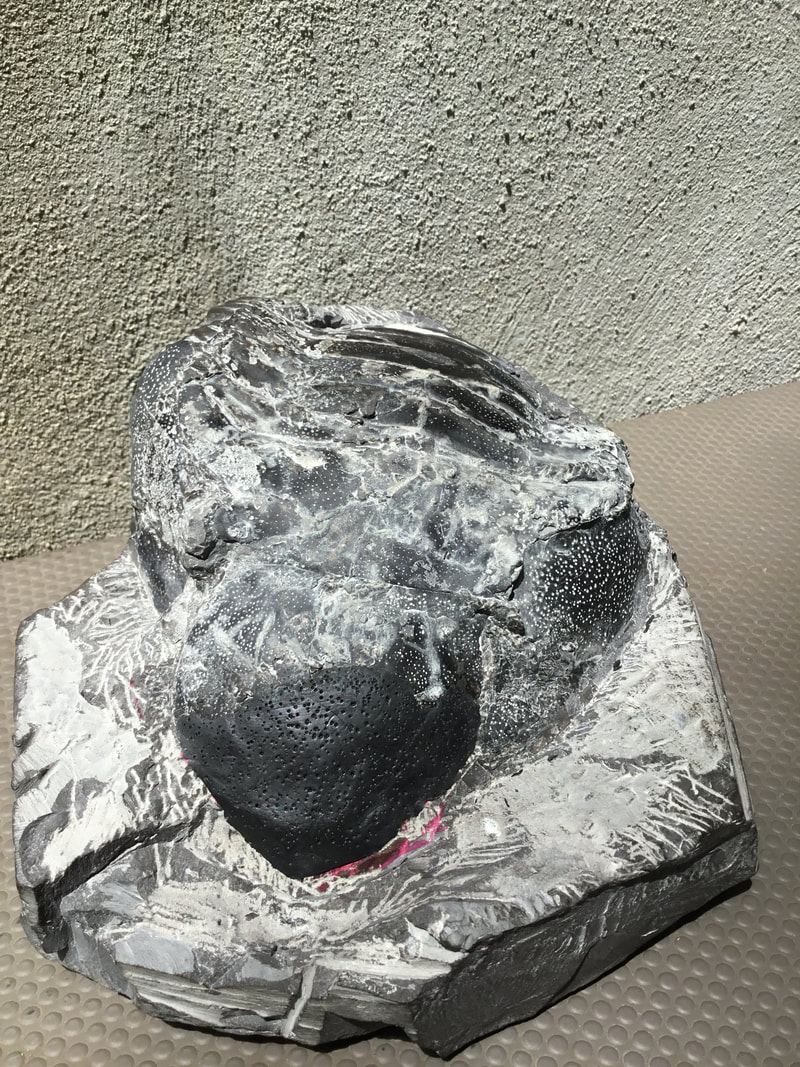
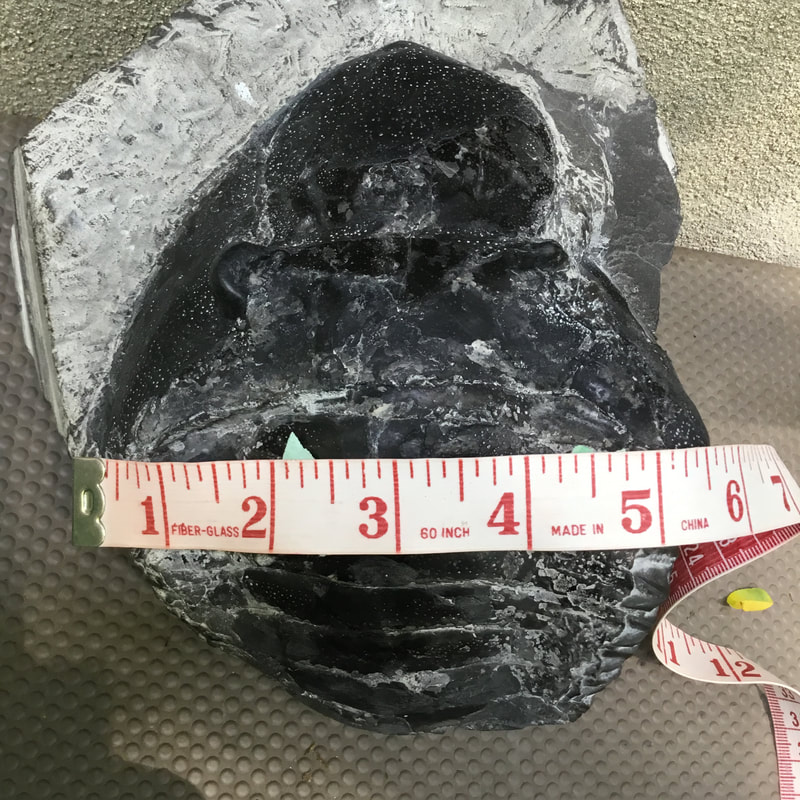
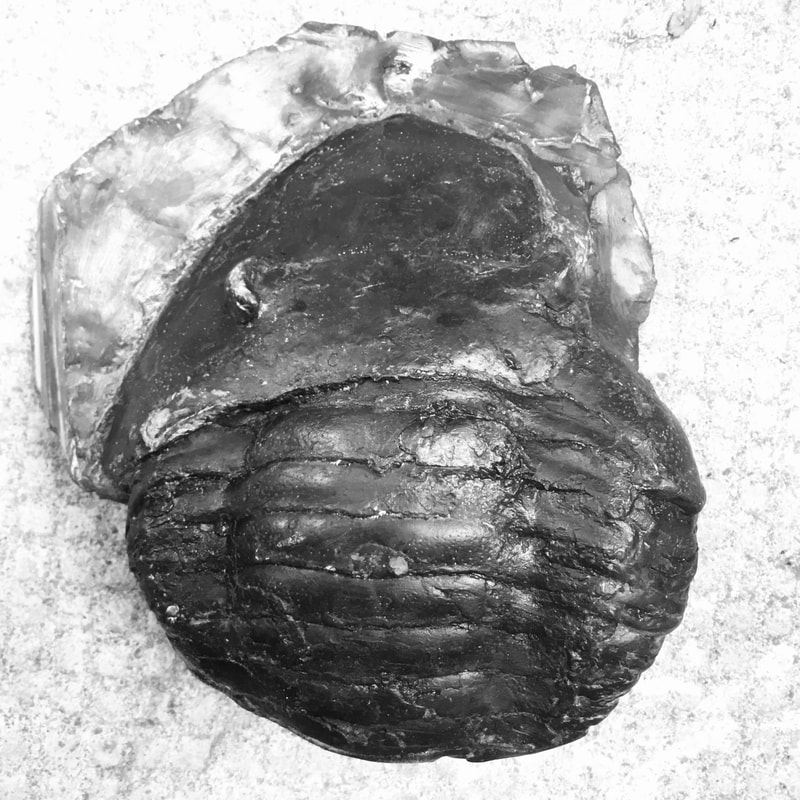
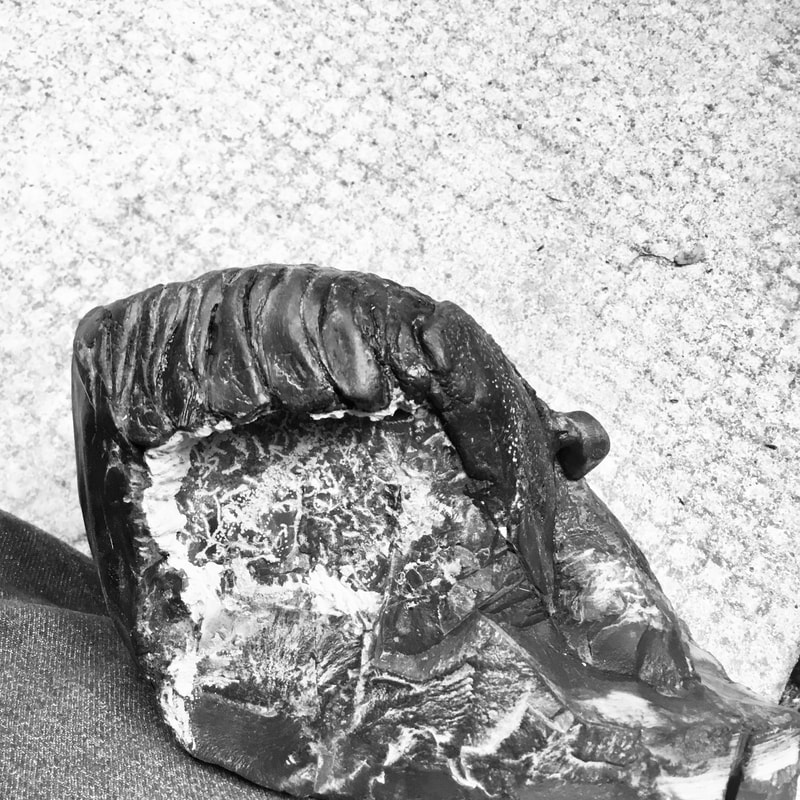
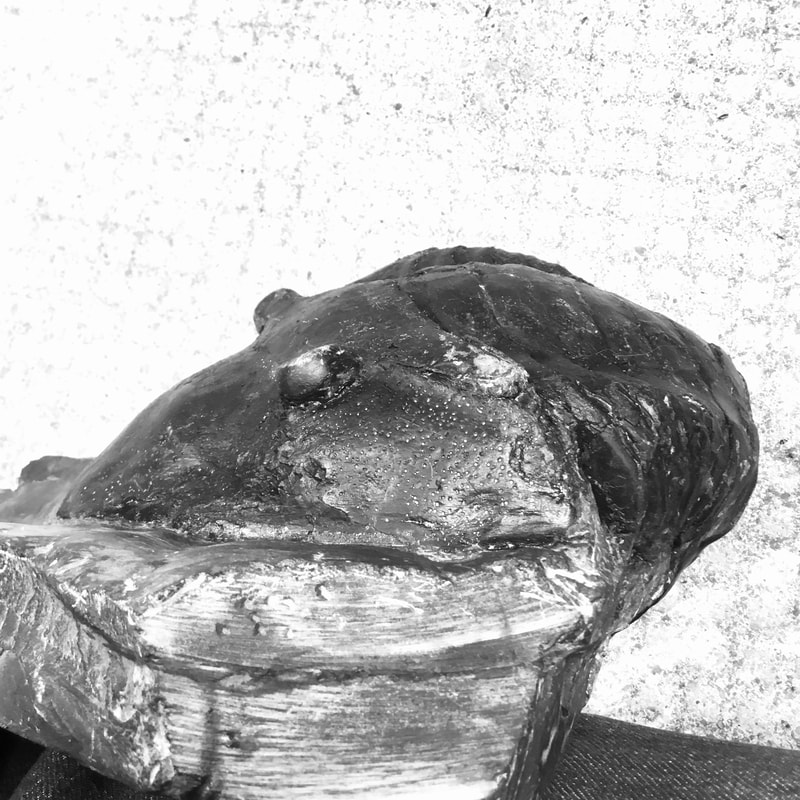
A year after finding it, and 155 hours of prep, and I can finally put down the tools and take a breather. Many were the times I wanted to quit this one, but I remained dedicated and determined to see it through on account of its size, and location. Giant Isotelus gigas are known in Quebec, but almost always as fragments compared to Ontario where they are more commonly found whole (but it is still a rare delight to find one in Ontario, too!). I've posted about this one already at an earlier stage of the process here. The amount of matrix was obscene, and the dense nature of the rock was murder on the tools, which meant agonizingly slow going. I abandoned it for almost a year. The preservation is crappy -- flaky, delicate shell that blows off with even the slightest vibration, missing parts, the works. 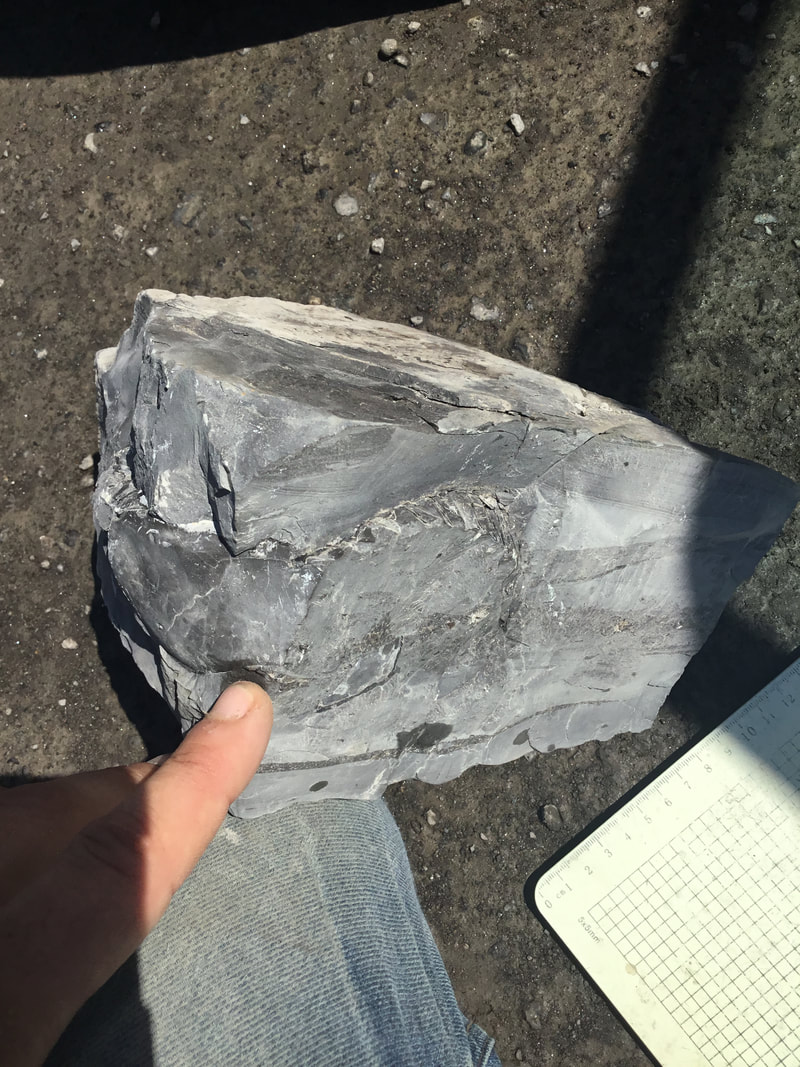 This is how I found it in the field. Just look at all that tough rock sitting on top of the thing! The number and variety of tools and accessories that were used to get this one prepared could run a whole page. Everything from rock saws, angle grinders, Dremels, scribes, abraders, tape, brushes, putty knives, Milliput, Bondo, files, sandpaper, glues, fixatives, paint, etc. 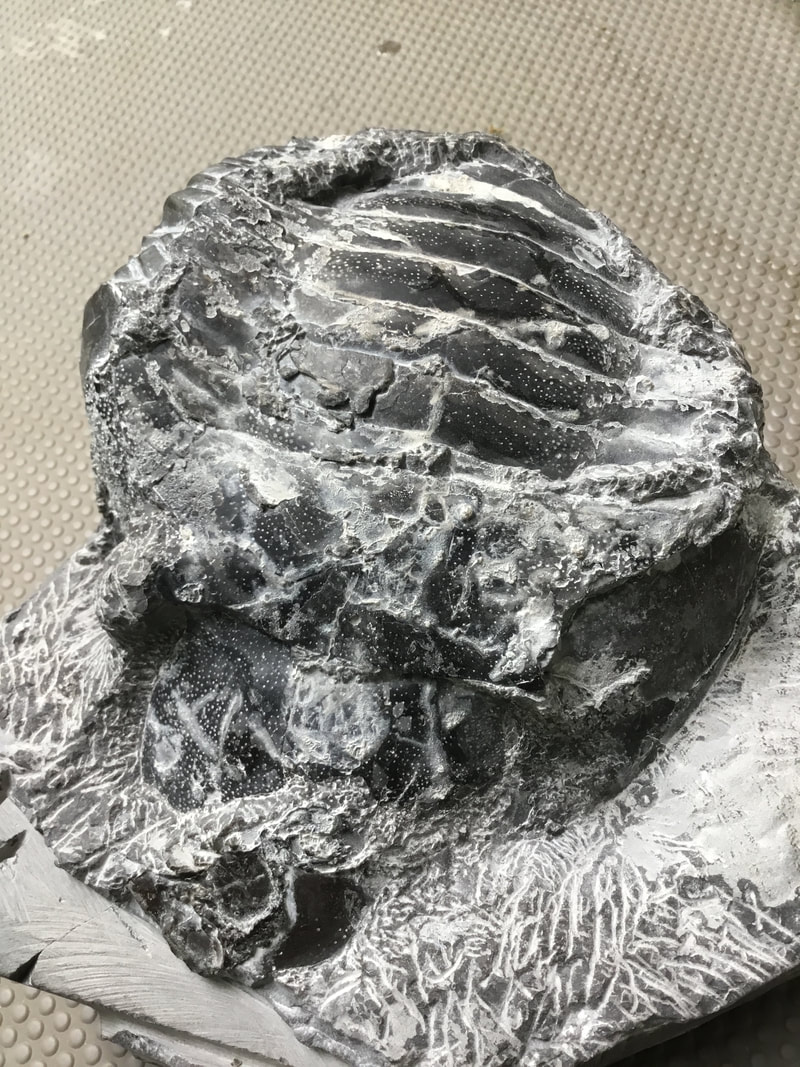 What an ugly brute, and this was after 20 hours of additional scribe work. It is missing eyes, cheek skin, most of the pygidium, half of the pleurae on one side, and for added enjoyment the anterior part of the glabella is displaced and shifted. The bigger the bug, the higher the likelihood of problems. The first task was what to do about that glabella -- it looks ugly, and preparing it as-is would have really detracted from the piece. 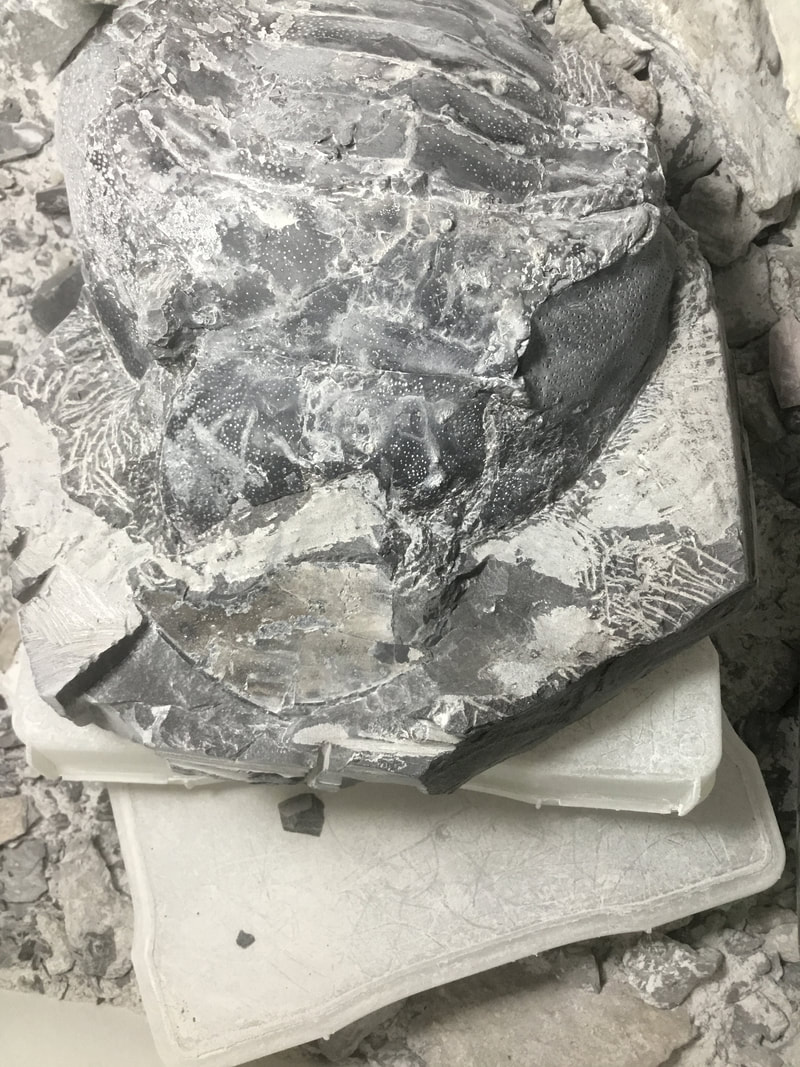 Problem, meet (extreme) solution. I just scribed the thing off entirely leaving only the "footprint." I took a photo of that and fed it into my Camera Obscura app, hollowed out an area just below the intact glabella, and then projected the footprint onto the area where I placed it where it should be, used a marker to plot it, and tried out some initial restoration using Milliput.
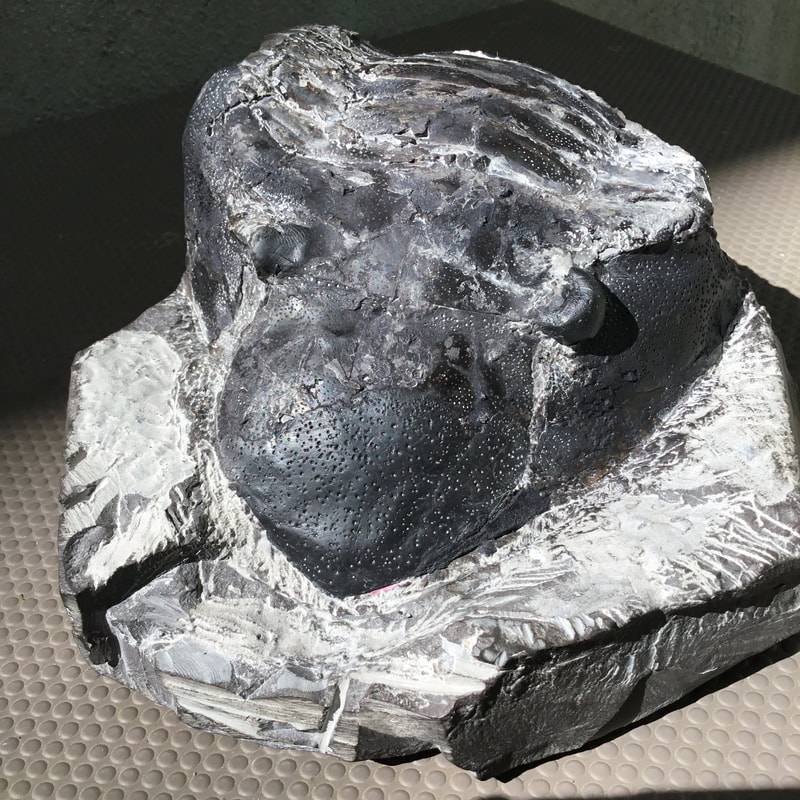
In place, and while I was there I decided to replace the missing skin on the genal spine, and used a sewing needle to make the little pores.
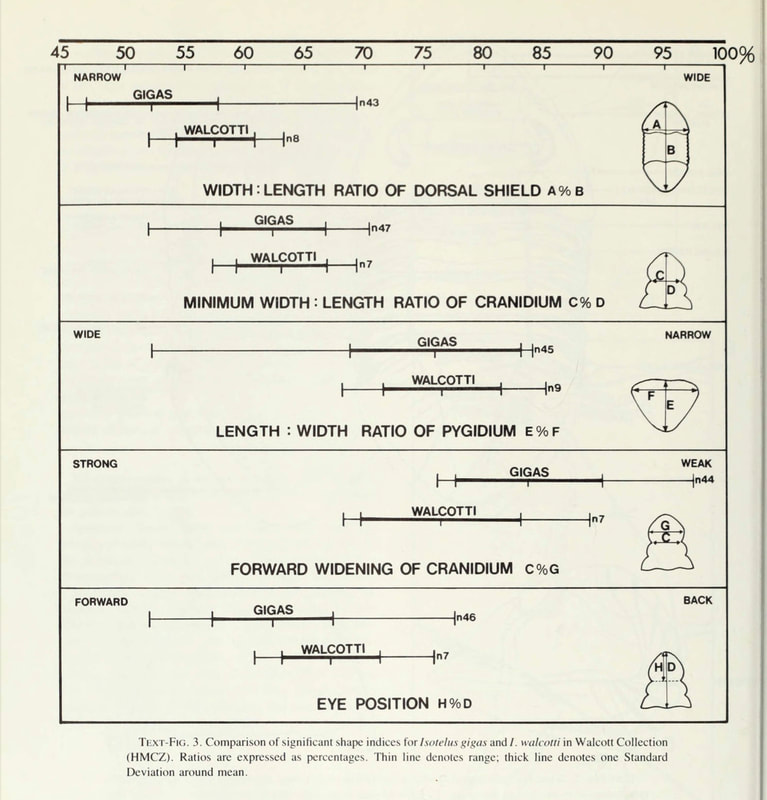
As I knew I would have to be building some new parts, I relied on Rudkin and Tripp's excellent text where they indicate the proportional ratios. I opted for a flat and conservative 50% width to length ratio.
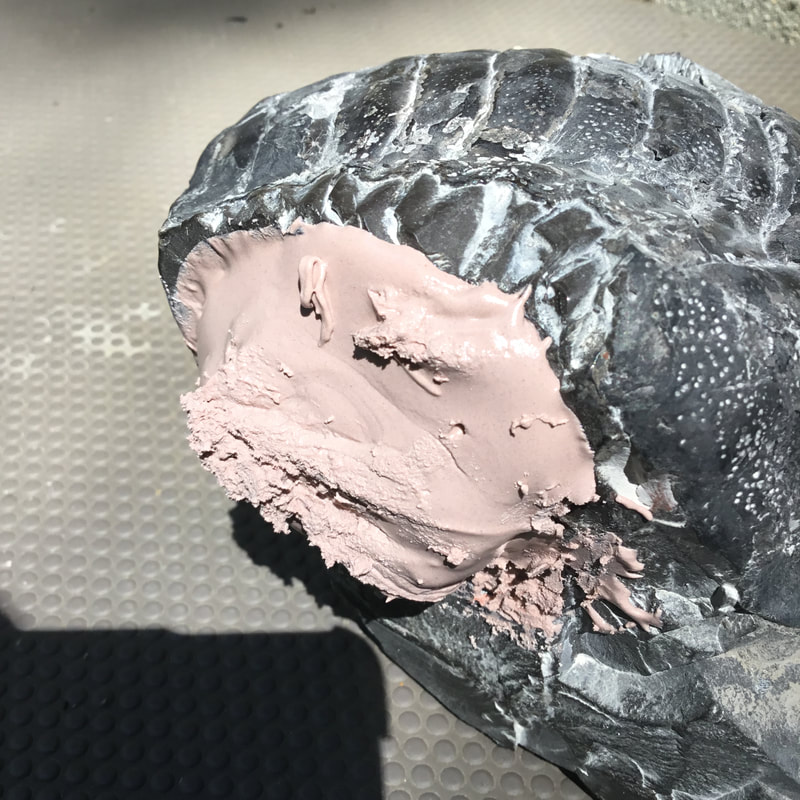
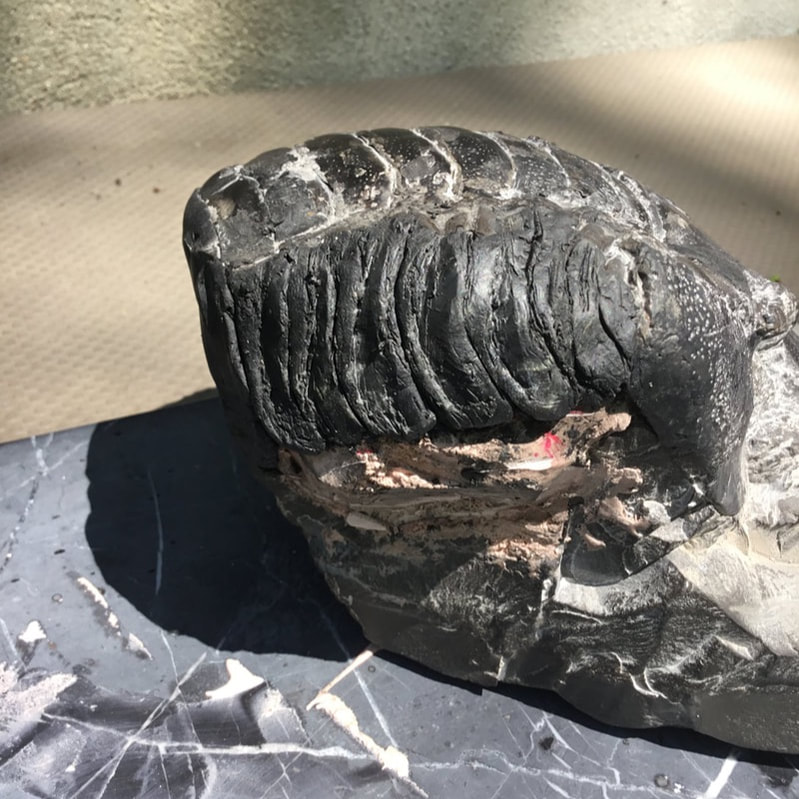
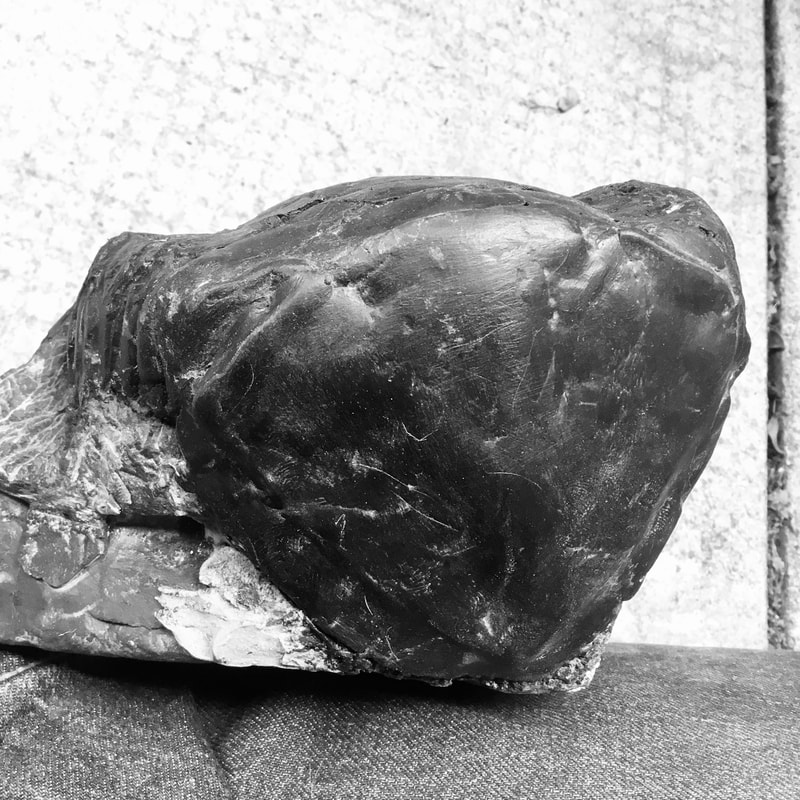
Milliput is not cheap, and certainly not to be used as fill. Since there was a huge chunk missing out of the right pleural area, a fossil prep expert friend of mine suggested I use Bondo to form a base, and then apply milliput on top of that. On the right is a preliminary shaping of the pleurae before more detailed work of carving and sanding with varying sandpaper grit. A similar process was followed for the pygidium. After, it was a matter of stabilizing, some sanding, painting, and other little finicky details. The result is not perfect, but I've never attempted a reconstruction to this extent before.
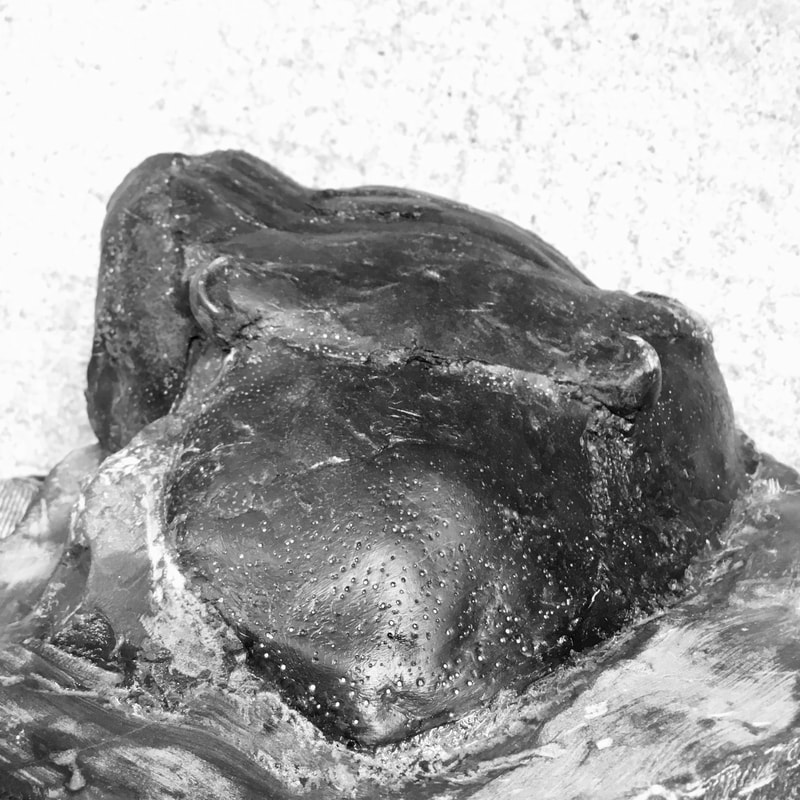 I toyed with building a whole new cheek on the right side as it is smashed inward, but then that might have thrown off the rest of the trilobite's proportions, so I opted to keep it as-is. 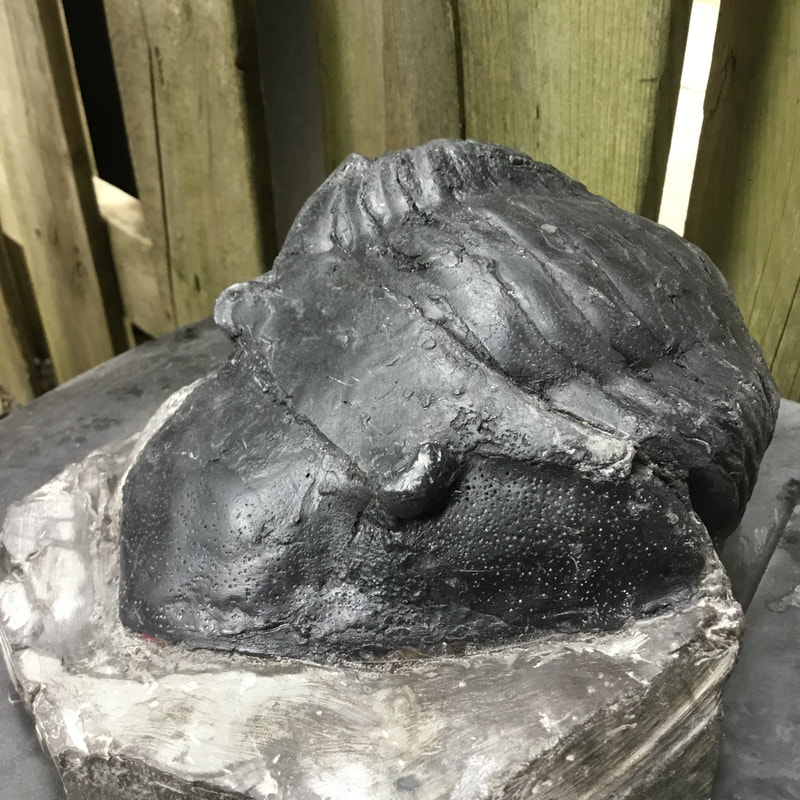 And there it sits in its big, ugly glory -- a bit like me! What a long process. It has just about every conceivable problem, but I felt this one deserved a chance. At 11 inhes, it is by far the largest trilobite in my collection.
So, when is my next big trip? I hope in July. I have something in the works that should see some prospecting adventure somewhere far away. I might sneak in another prep before that happens, but for now I am taking a well deserved breather! Comments are closed.
|
Kane Faucher
Archives
February 2024
|
 RSS Feed