|
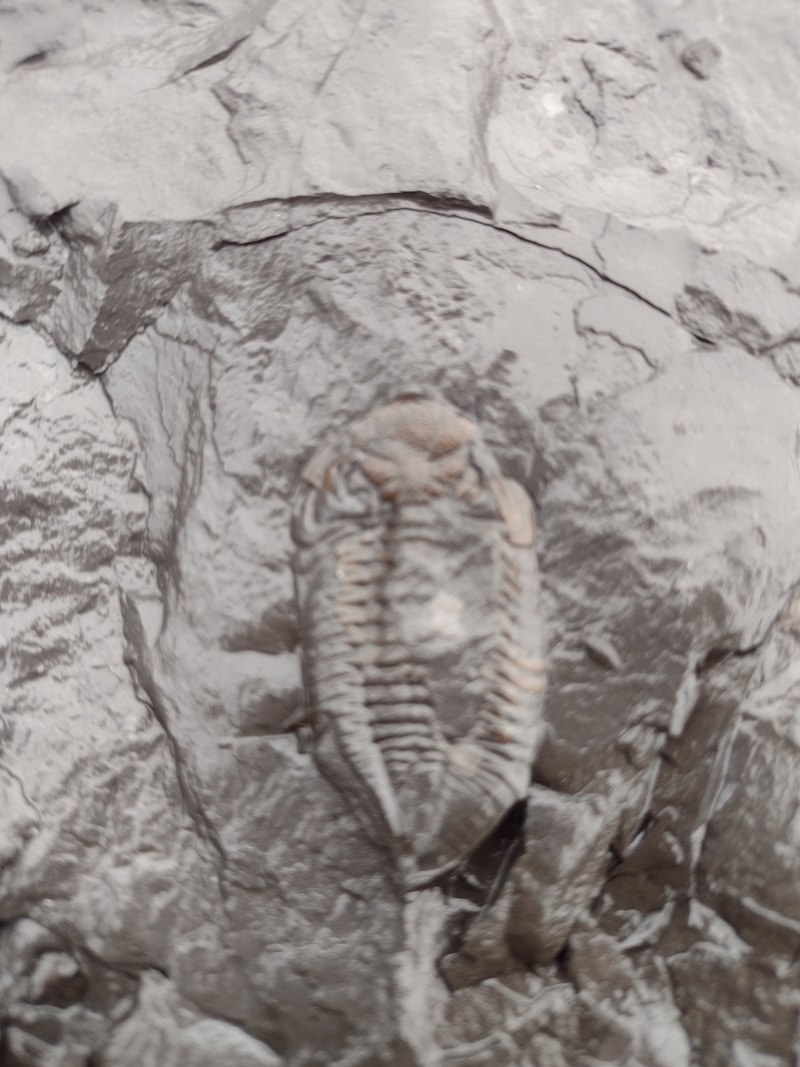
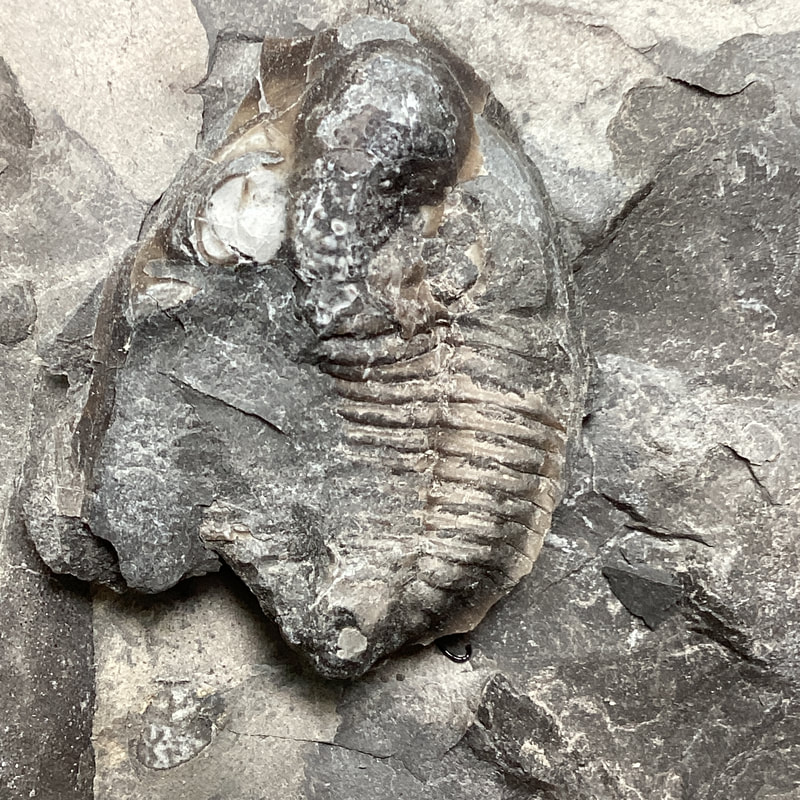
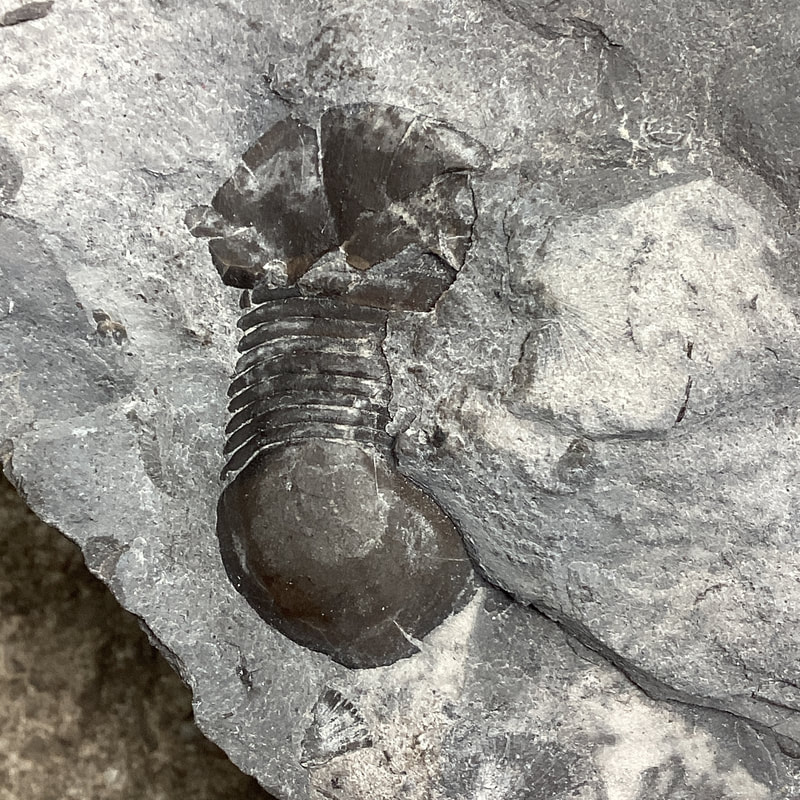
As I'm in between trips, here is a short spacer on consolidants, which I use both in the field and in the lab. 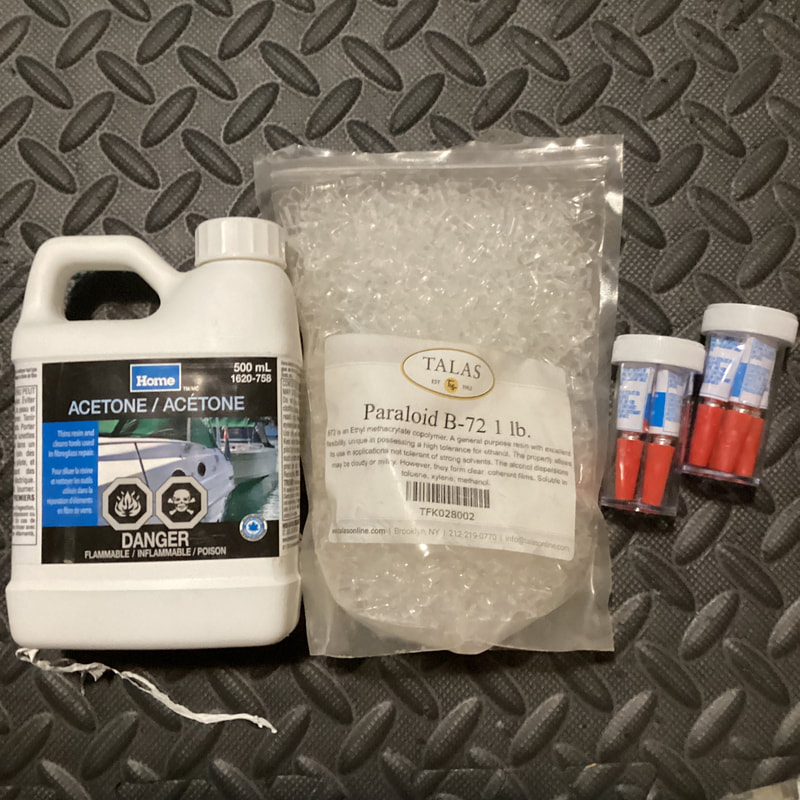 The arsenal is tiny, but mighty and versatile. I'm not including any of the other materials generally used for restoration, such as Bondo or Milliput, but just the plastics I need in both the field and lab. Superglue (cyanoacrylate): This is, bar none, the most essential of consolidants. Not having enough of this is sometimes the difference between going home from a trip a winner or living in an ocean of regret. This fast-bonding agent is cheap and a must-have in my field pack. These sell at hardware stores, but I don't like buying crazy glue at premium prices, and so opt instead for getting these one-use containers at a dollar store. It is effectively liquid plastic that hardens in air. The other benefit of one-use tubes is there is no fussing around trying to reopen them ever again -- I find the bigger tubes available at hardware stores harden near the cap no matter how airtight you screw it back on, rendering the rest of the tube useless. In the lab, it also has its uses. I've used it to glue two or more halves of rock together for preparation where a trilobite comes out in pieces. The one drawback is in its leaving of a kind of whitish crust, and it is not always easy to abrade off (forget trying to scribe it off as it is like removing caulking with a screwdriver). The trick with superglue is less is more. Putting too much superglue when combining two pieces together can leave a gap, a bit like the filling of an Oreo cookie. Also, if applying directly on a fossil surface, it can be a bit of a nightmare to remove the excess. In that case, one trick to thin it out is to blow on it to make it spread more thinly. I use a thin cyanoacrylate. There are more viscous varieties, but I generally want to abide by the less is more principle and make any joins seamless. When stabilizing a fossil in the field, always pay attention to where the rock is cracking, and wick those with glue; if a crack is visible on the edge of the slab, chances are it is running all the way through the whole rock including the fossil! When dealing with flaky shales, it is important to wick glue in all the little crevices, too, to avoid it flaking off and ruining a great fossil in transit. One of the great things about superglue is that it is "reversible" by dissolving in acetone. It isn't going to be magic, though, so don't expect a few drops of acetone to miraculously remove all the glue you accidentally gooped all over your fossil. At best, it will weaken the bond a bit, allowing you to *gently* pick it off with a sewing needle or similar. Try never to dissolve the whole rock in a big bucket of acetone if you've joined pieces together because they will fall apart. Paraloid: This one is new to my consolidation toolkit. It functions similarly to superglue, except these come in already hardened beads that are dissolved in acetone. Pending how viscous and strong you want it (allowing or not allowing "give" in the bond) will depend on the ratios. I usually go for anywhere between 5-20% paraloid to acetone. I put these in a small glass jar, pour in the acetone, seal and wait. I'm not sure how long this can be stored, but it has to be sealed as air will harden the whole mess. I find it dries fairly quickly, and I can strengthen the bond by applying numerous coats. A good idea is to make more than you anticipate needing. 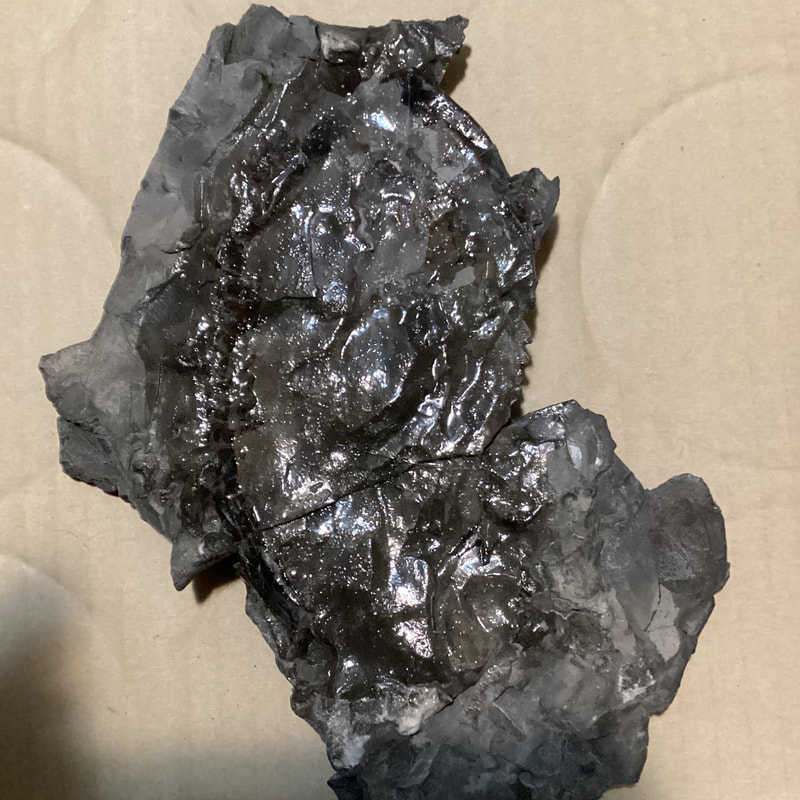 A bit of a challenge to tell in this photo with the glare, but this is the underside (ventral) of a trilobite I want to prepare dorsally. That said, it is pretty much wafer thin (a good portion of the dorsal side is already exposed). There is no way to do prep on this without good, solid consolidation. I'm effectively plasticizing a base, and have applied numerous coats of paraloid.
In the case of the specimen above, both superglue and paraloid served their purposes. In the field, the specimen was showing in a very large rock with a whole lot of flakiness and cross-bedding, so I needed to stabilize that with superglue, including any and all exposed bits of shell prior to strategically removing it with hammer and chisel with very precise, measured strike at very tactical angles with a good understanding of where the rock's structural weaknesses were. There was really no way this was coming out in less than two pieces, but the extraction was a success. As the shell is very brittle, too much force in extraction would have resulted in shattered bits that would have been lost forever. Once I got home, I superglued the two pieces together after ensuring no debris between the two faces to be joined remained. Once set and cured, I then applied the coats of paraloid. None of what I am writing here is new to any person who has spent time fossil digging or preparing. Nevertheless, glue is what truly binds in increasing the chances of having a great versus botched find. It is that time of year when the fossil weather is not too hot nor too cold. I took the opportunity to forsake Thanksgiving festivities to go out in the field, bothering the Bobcaygeon Fm.
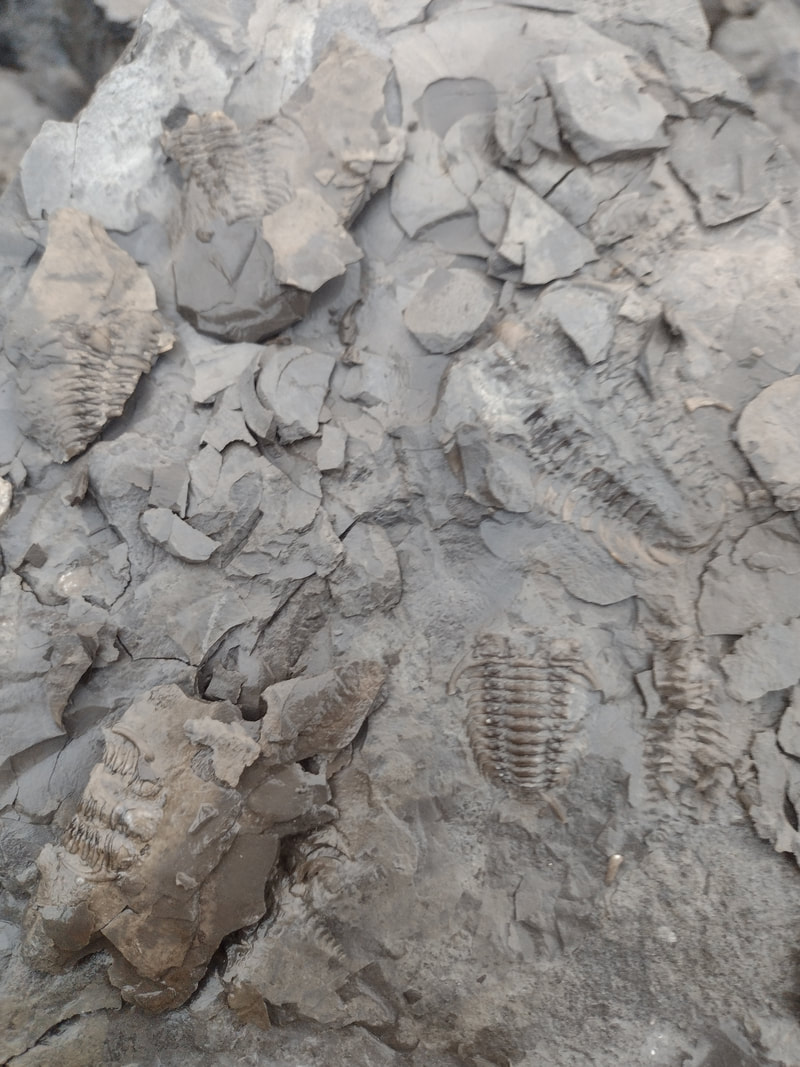
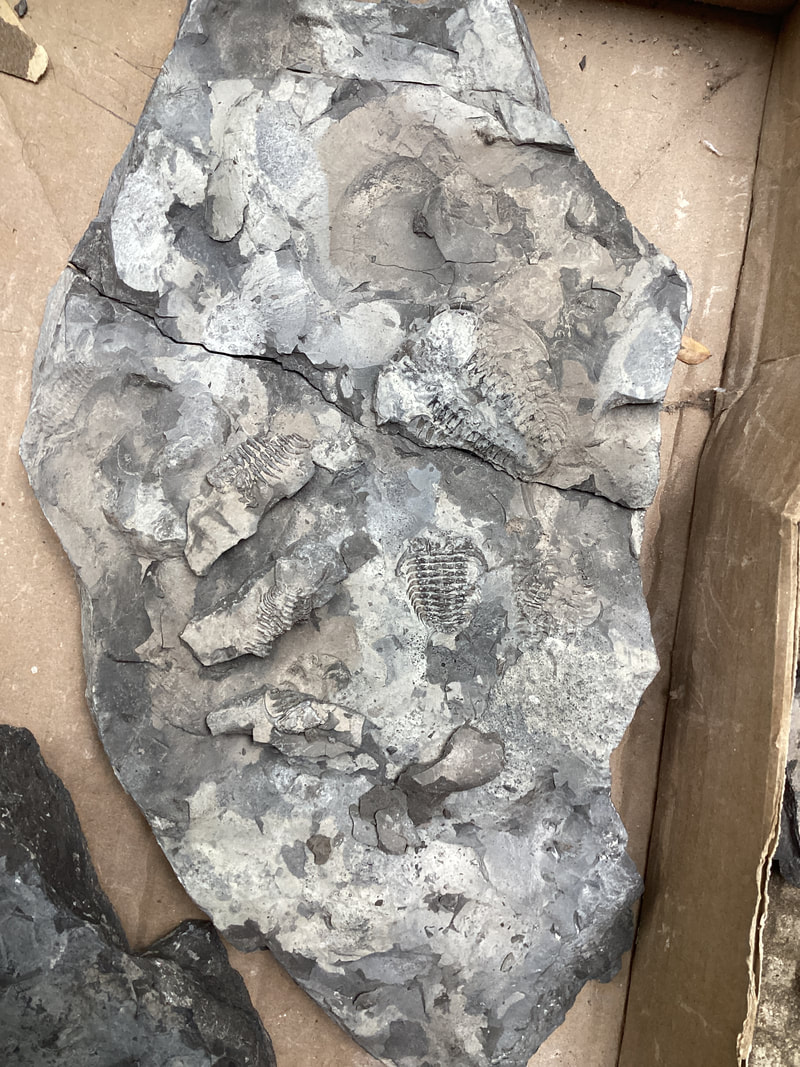
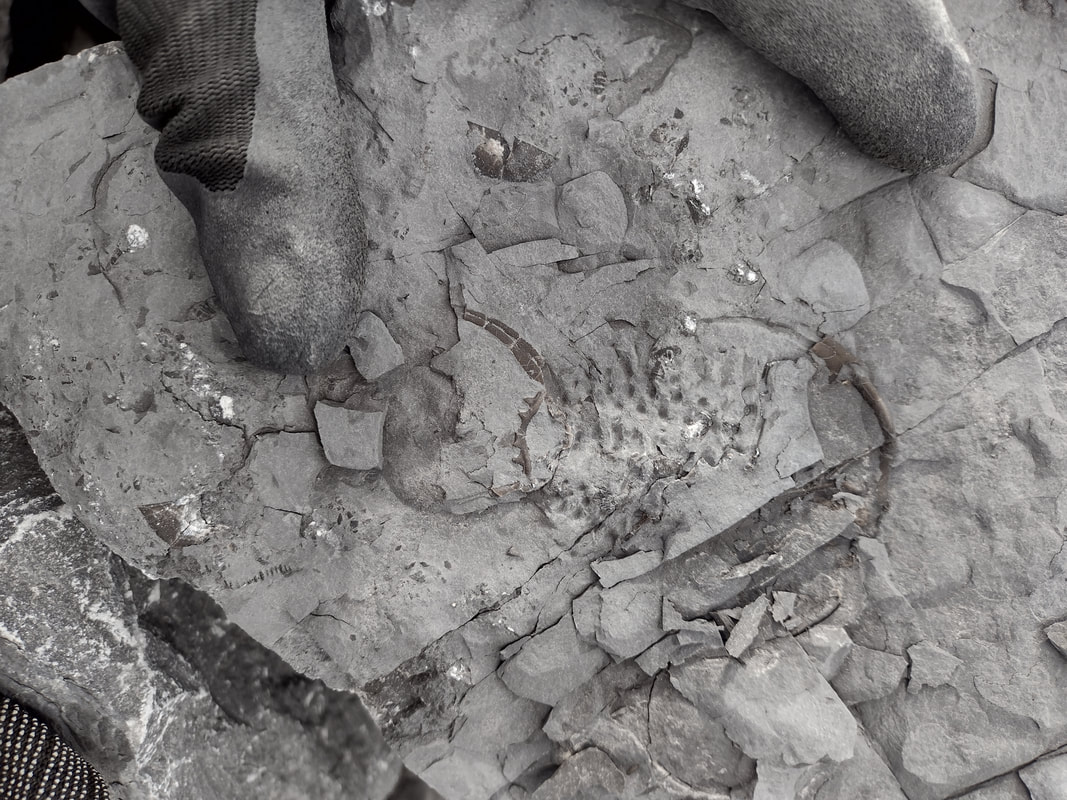
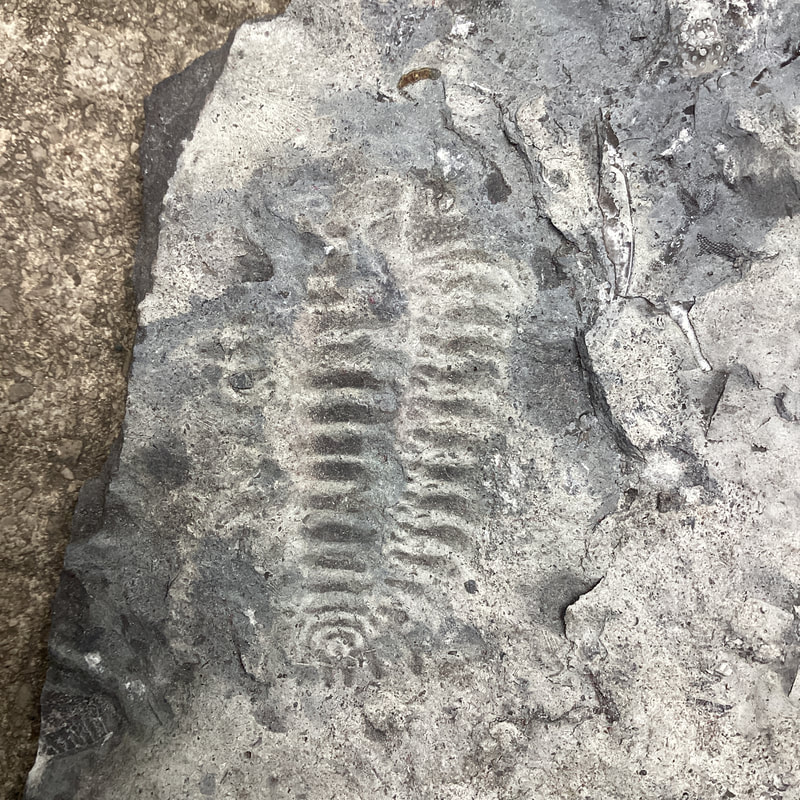
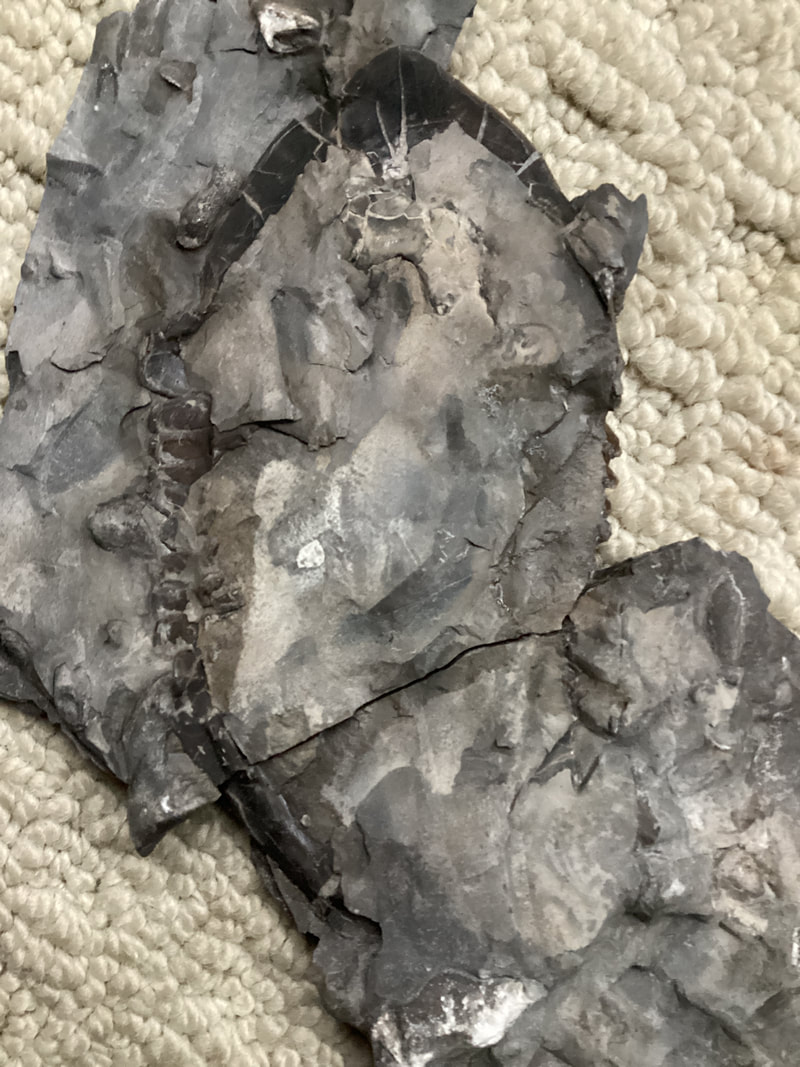
It started out with a bit of a bang. A nice cluster plate of Ceraurus globulobatis and at least one ventral Gabriceraurus dentatus. A lot of pieces need to be reattached, and there is the possibility that more may be lurking under the matrix. I found this within a half hour, so that somewhat set the tone for the weekend. There is one very nice specimen in the mix, and the rest we'll just have to see what prep shows.
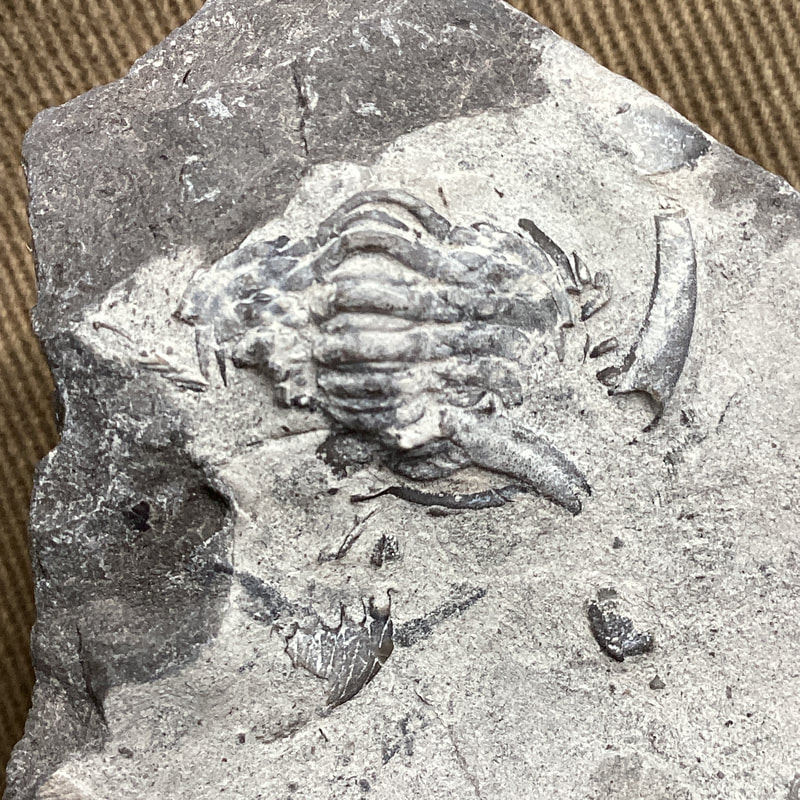
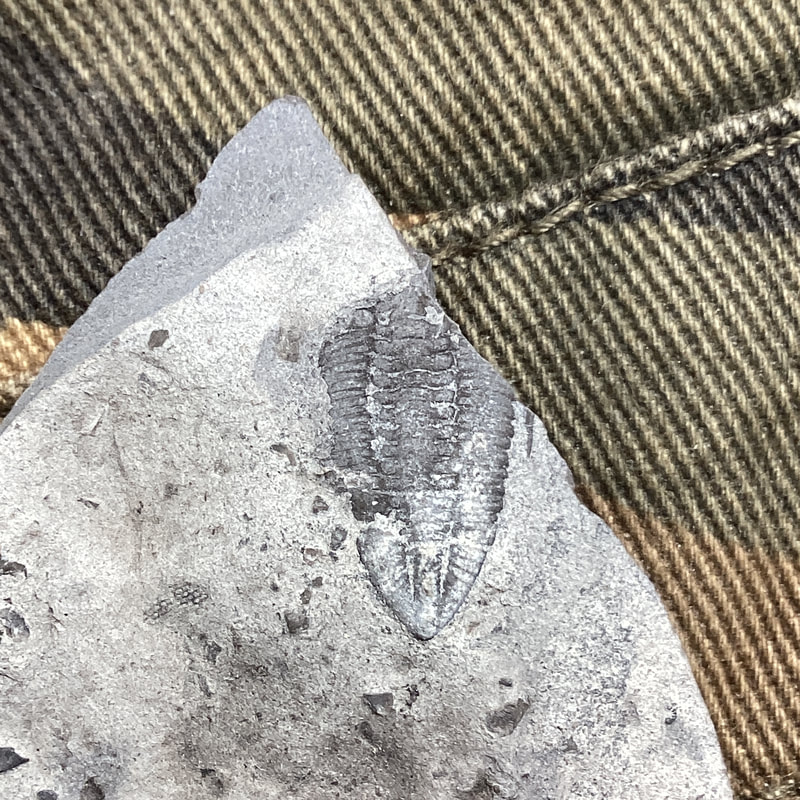
A severely exfoliated Calyptaulax callicephalus and the pygidial spines of a cheirurid (likely Ceraurinus marginatus). Although I did encounter a few Calyptaulax on this trip, none of them were really worth bringing home.
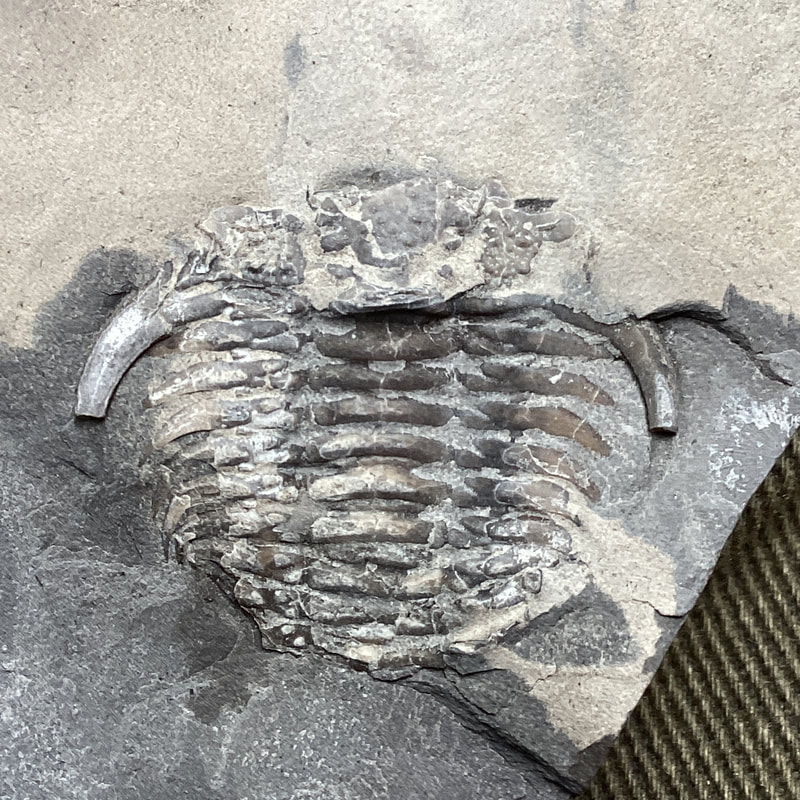
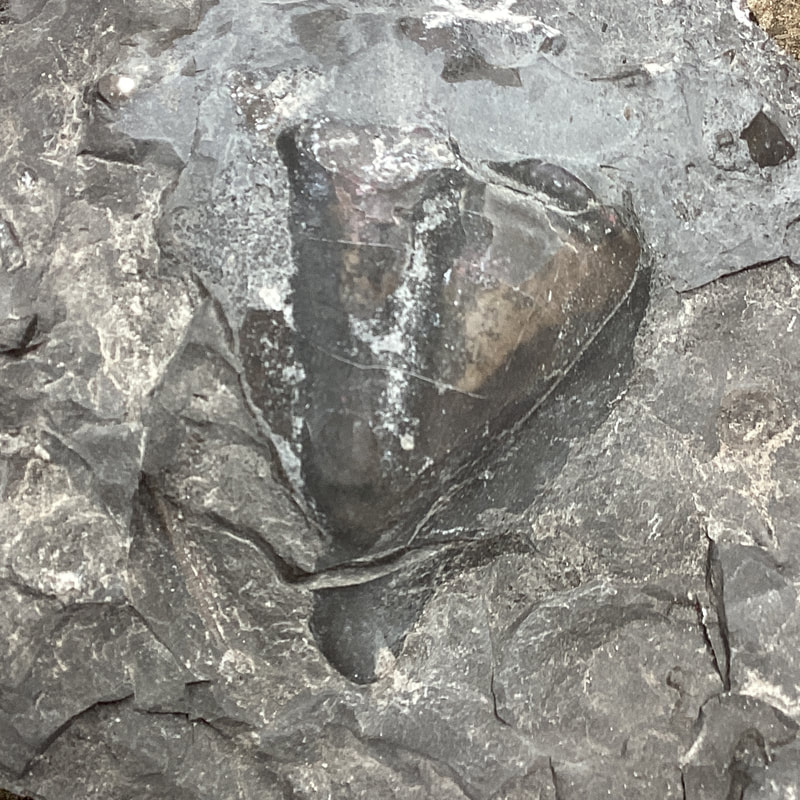
Heartbreaker ventral Gabriceraurus of healthy size. Despite much care (and glue), this one did not survive extraction. On the right is mostly the impression of a Failleana indeterminata; I did not find even a whisper of this styginid beyond this.
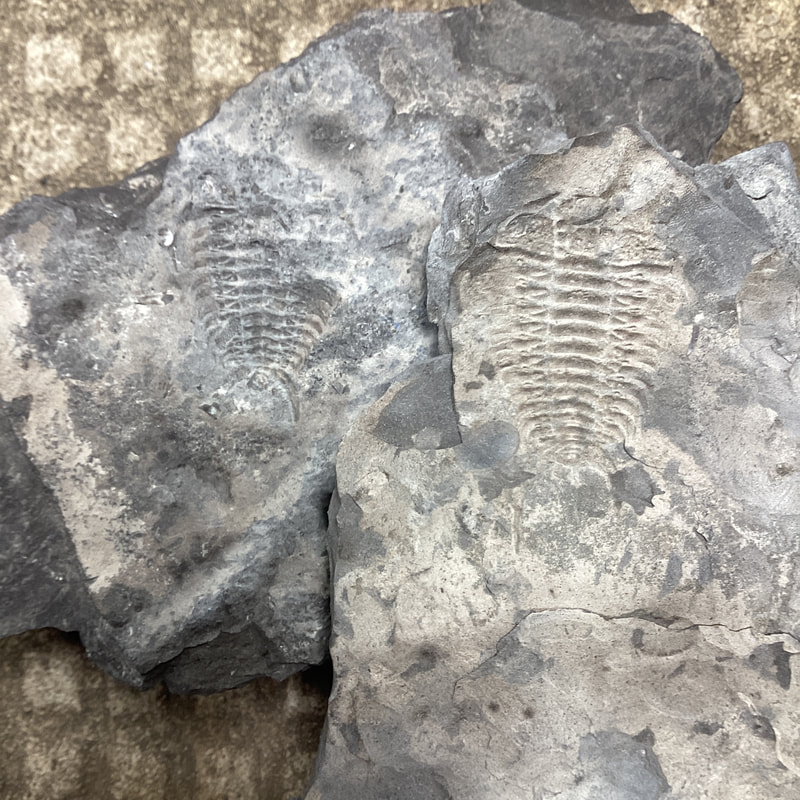
The phantoms of Ceraurus, and what I suspect is a Ceraurinella ("Xylabion") on the right. Just impressions, sadly.
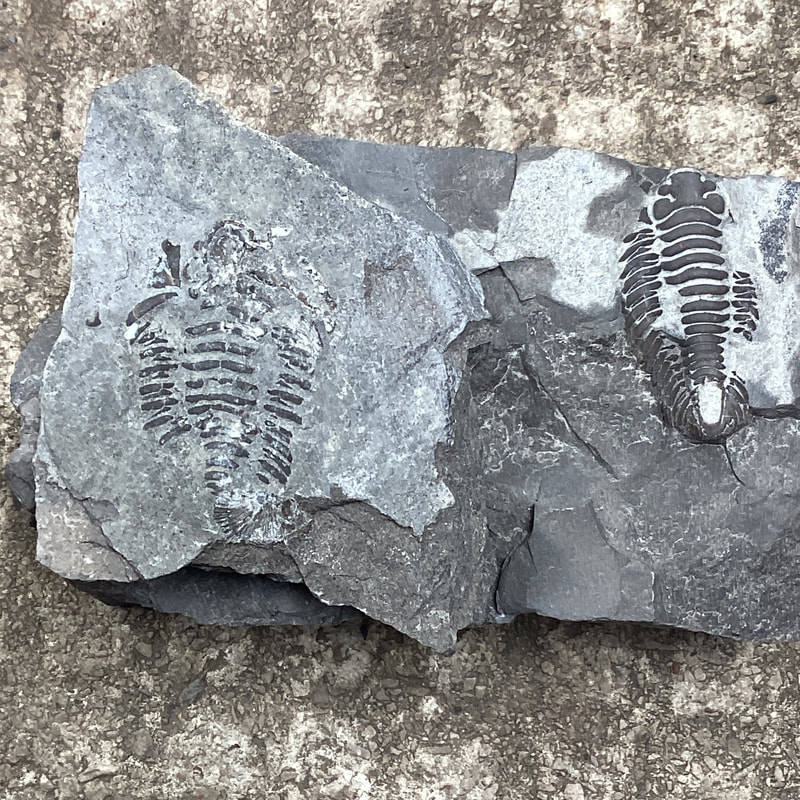
Either the pygidium is gone, or likely tucked flat sandwich-style underneath on the left Ceraurus, and on the right an enrolled example.
It isn't the Ordovician of Ontario without some Flexicalymene senaria. Scrappy examples, maybe worth a quick clean.
Pygidium of Ectenaspis homanolotoides, which are fairly rare asaphids. On the right is one of the better examples of Raymondites I found.
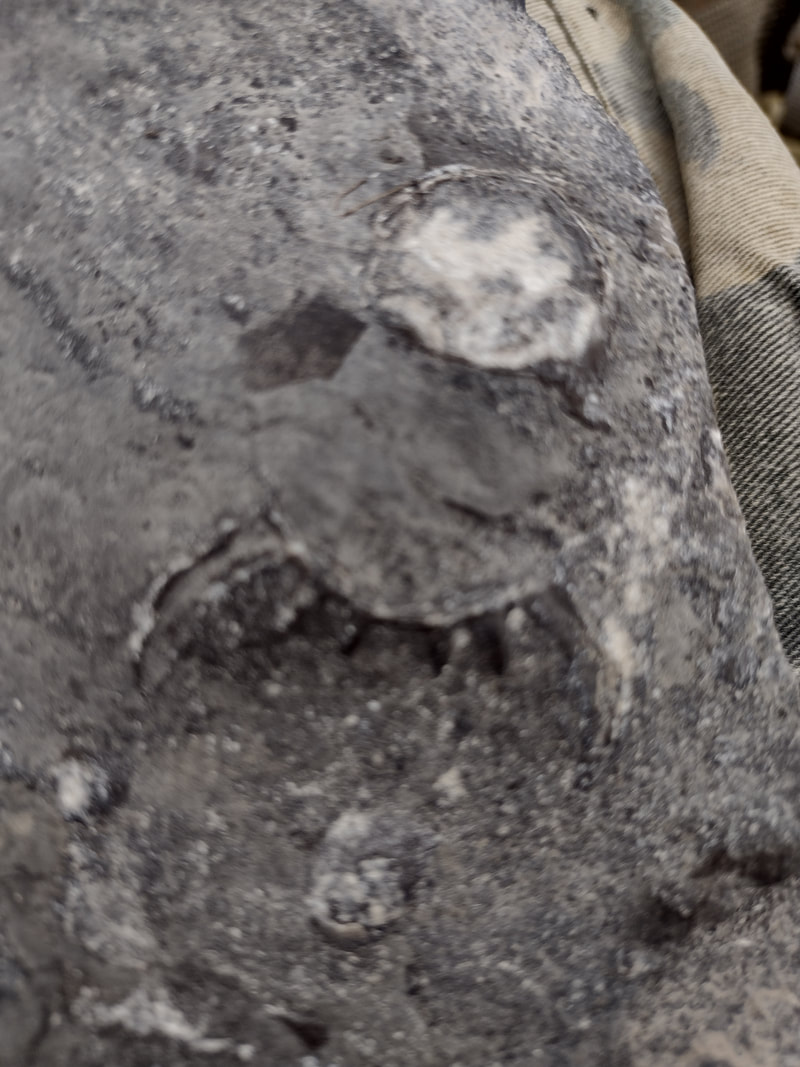
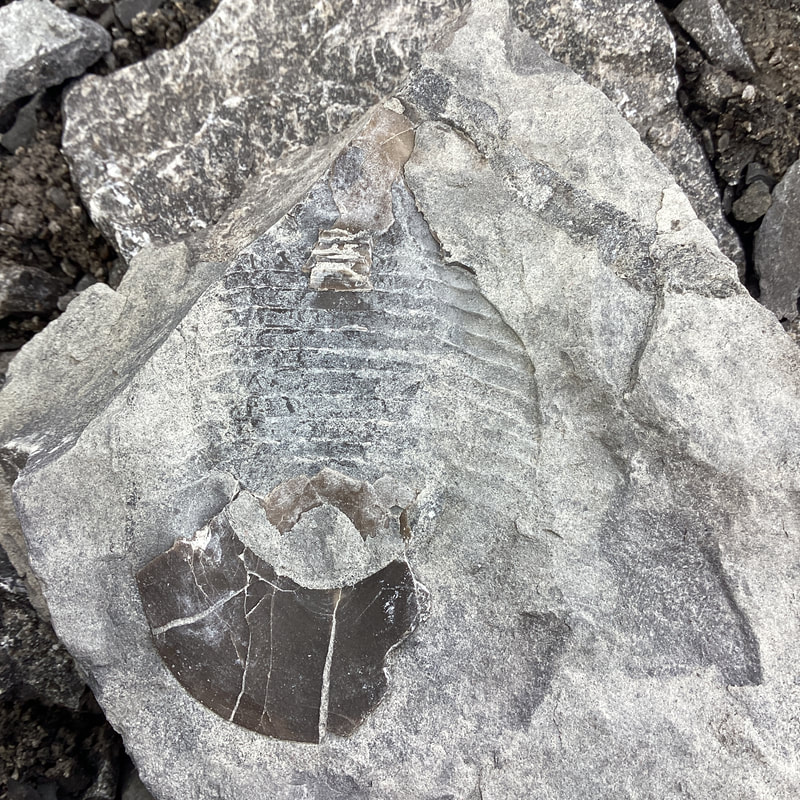
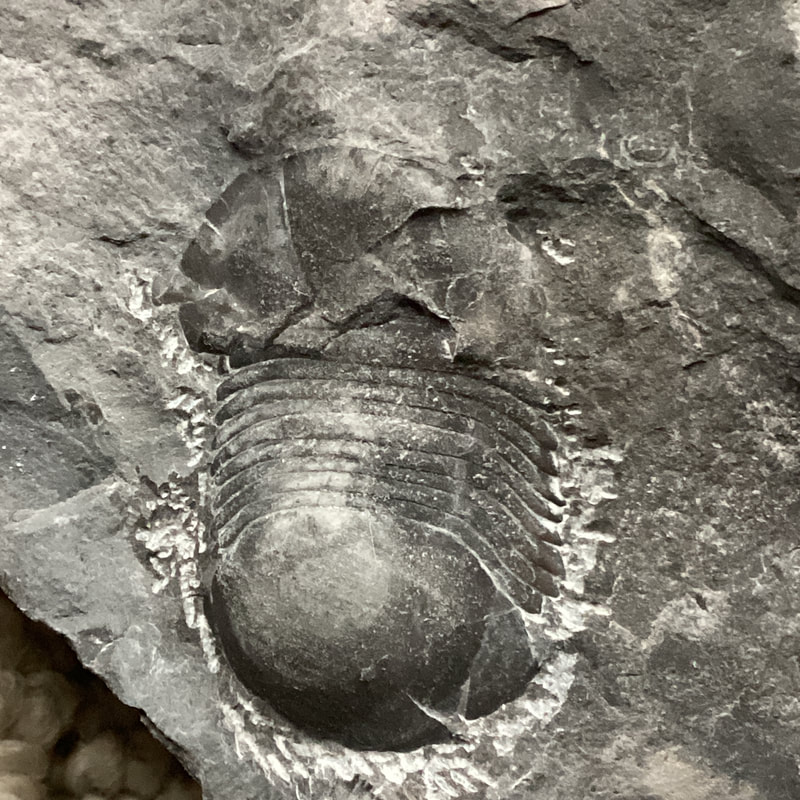
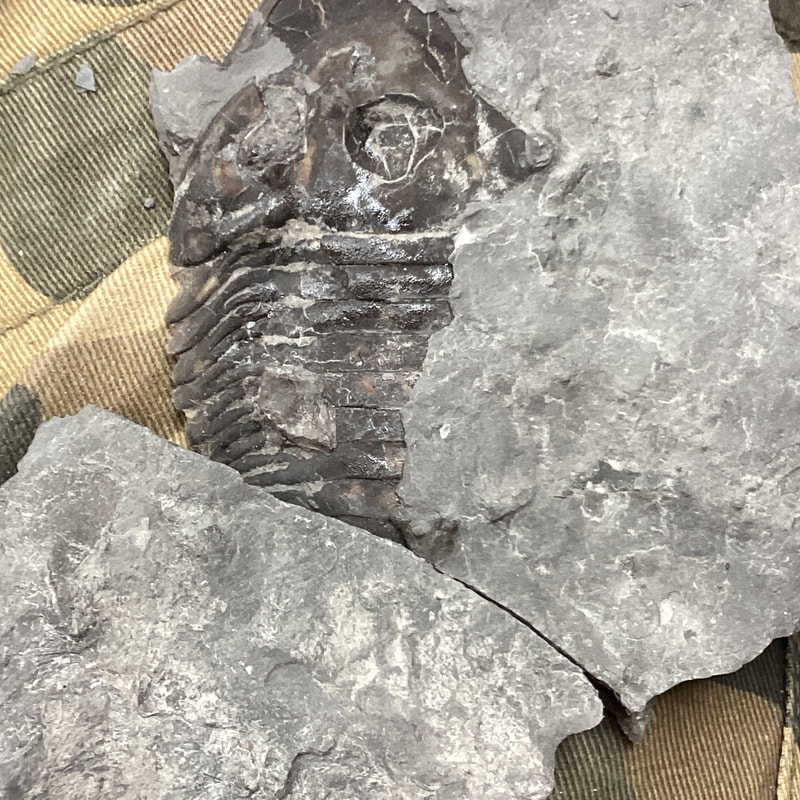
It is tough to believe, but for my many weeks in the Ordovician of Ontario, I had never managed to find a complete Bumastoides milleri. Sure, plenty of parts, and even complete thoracopygons, but this trip finally crossed that off the list. Photo on the right is just a quick ten minute scribing to expose a bit more before the official prep can reveal this one in its more robust glory. The cephalon is a bit crushed, so not a top shelf bug. 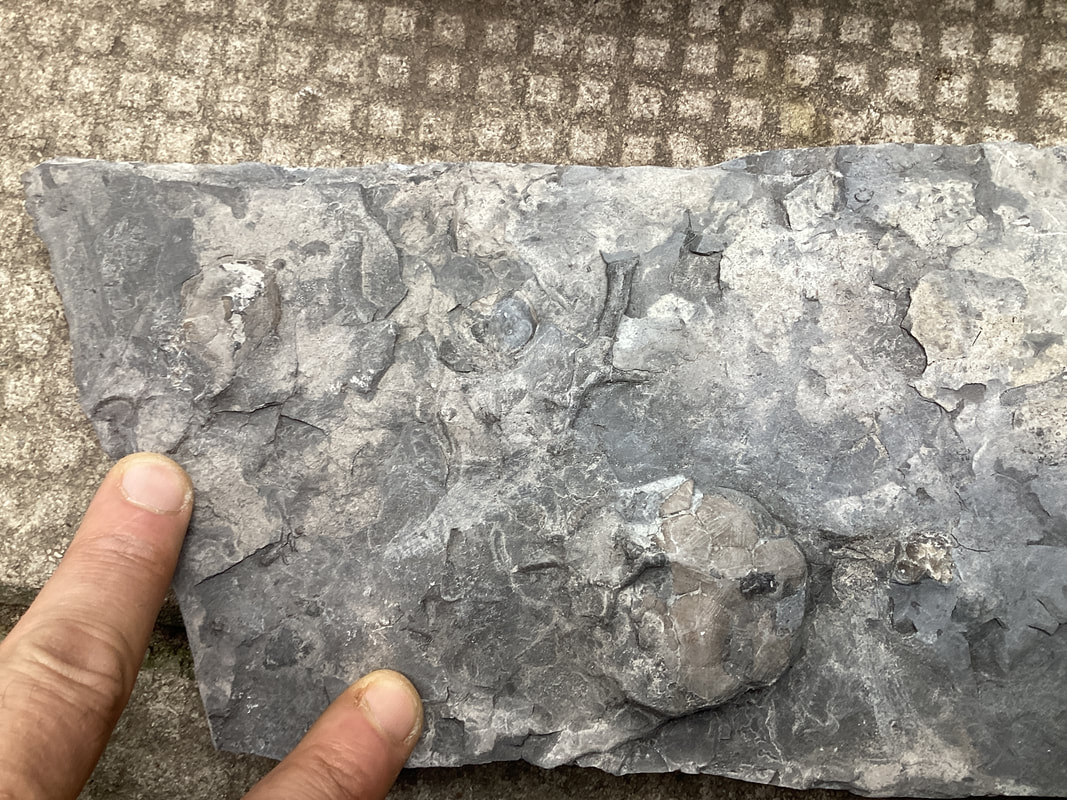 A Carabocrinus vincourtlandti complete calyx, and possibly a smaller example on the upper left. Echinoderms are not really my thing, but I will pick them up if they are interesting. Prep will be needed to see if the stout arms are on these. 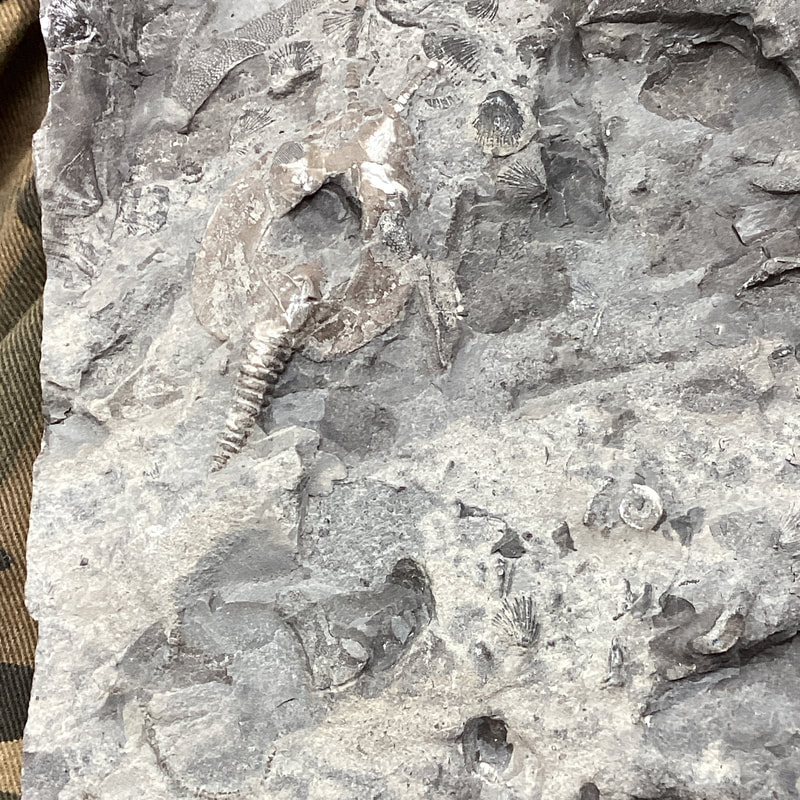 The classic Pleurocystites squamosa. A scrappy example, but the nicer ones refused safe extraction, so this was my consolation prize. The wispy tail is present, but mostly buried under the matrix. 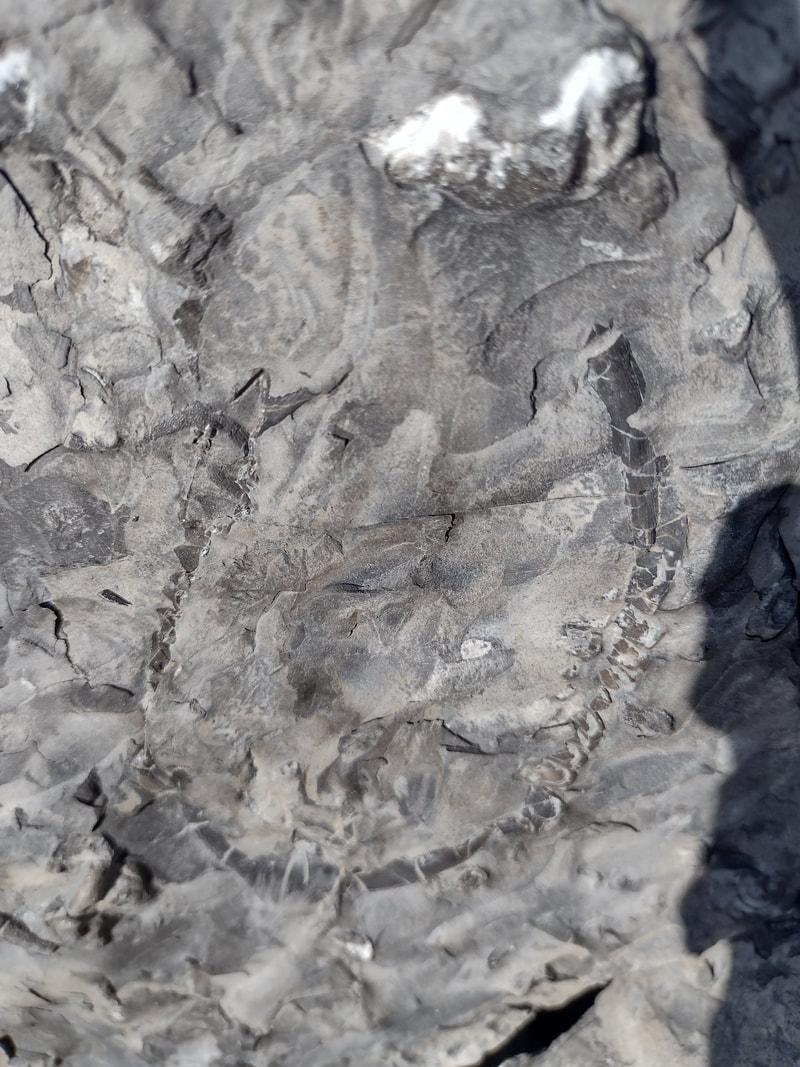 A ventral asaphid of about 11-12 cm. Obviously, extraction is going to be tricky business. I used up the last of my glue to stabilize it as best as possible before delicately and slowly using hammer and chisel at key points in the rock to minimize damage. The long diagonal crack shown here runs very deep, so there is no choice but to take it out (carefully!) in two pieces to be glued back together later. Much glue is used to prevent pieces of shell from flying off.
Success. Ventral and dorsal views. This is going to be one heck of a prep job requiring much paraloid to stabilize the ventral area. Those pleurae are hanging out matrix-free in the open. I also kept the negative which has the left eye. Although there is not yet agreement between me and my fossil comrade, I am thinking it is an Ectenaspis. It seems a bit too elongated to be a typical Isotelus gigas (looks more like Isotelus "mafritze", but those do not occur in the Bobcaygeon). The one way to determine this beyond a shadow of a doubt is to see if there is that classic projection on the pygidium, which is still mostly buried here. If so, then this is truly the trip-maker.
I have a few other specimens that need to be pieced back together, and photographed. In all, not a bad trip. Despite the surplus of trilobites here, the material is fickle in both preservation and abundance, so requires a lot of time scanning slowly with care. I do hope to get out one more time in early November, assuming weather and opportunity cooperates (coinciding with Reading Week, as otherwise I'm doing the teaching thing). As the weather cools, some of these specimens will be making their rounds in my prep area, so at least I have a few more winter projects to share. |
Kane Faucher
Archives
February 2024
|
 RSS Feed