|
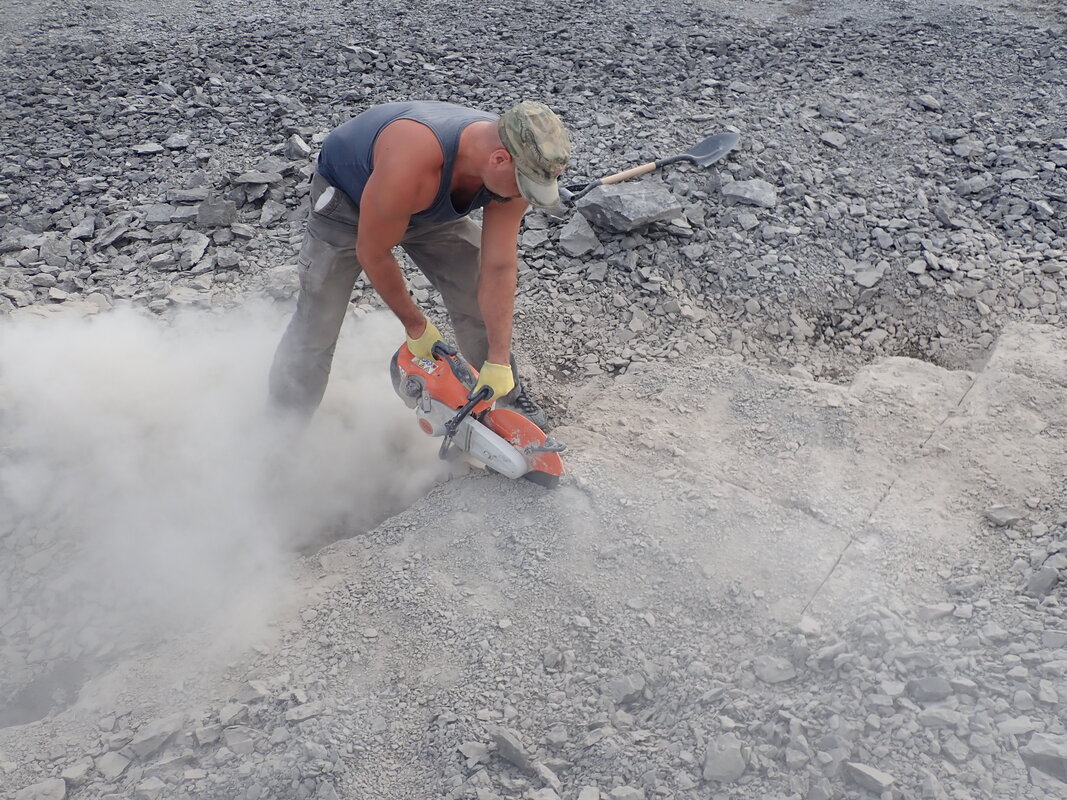
My new Paasche AECR arrived a few days ago, and I just got an air compressor last night, so it is time to dig into preparation! 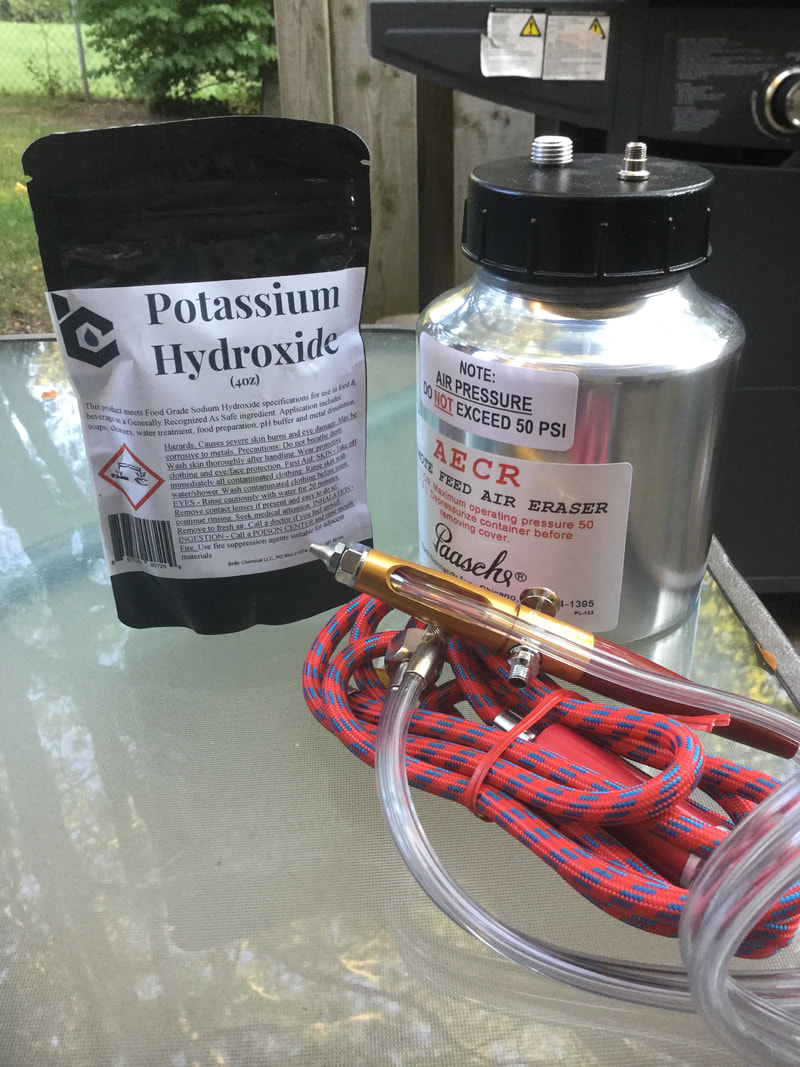 On the left is a 4 ounce bag of potassium hydroxide (KOH), 90% pure. It is a strong alkaline used as an ingredient for making soap. It reacts quickly to moisture in the air, so precautions are necessary in handling it. This is part of the "passive prep" approach: place a few flakes of the KOH on a fossil you want to remove matrix from, check in once every hour, and leave it for 4-8 hours before rinsing it off and repeating as necessary. I've done a preliminary soak but didn't see any real difference, so I'll have to try again. On the right is the air eraser with built-in moisture trap. 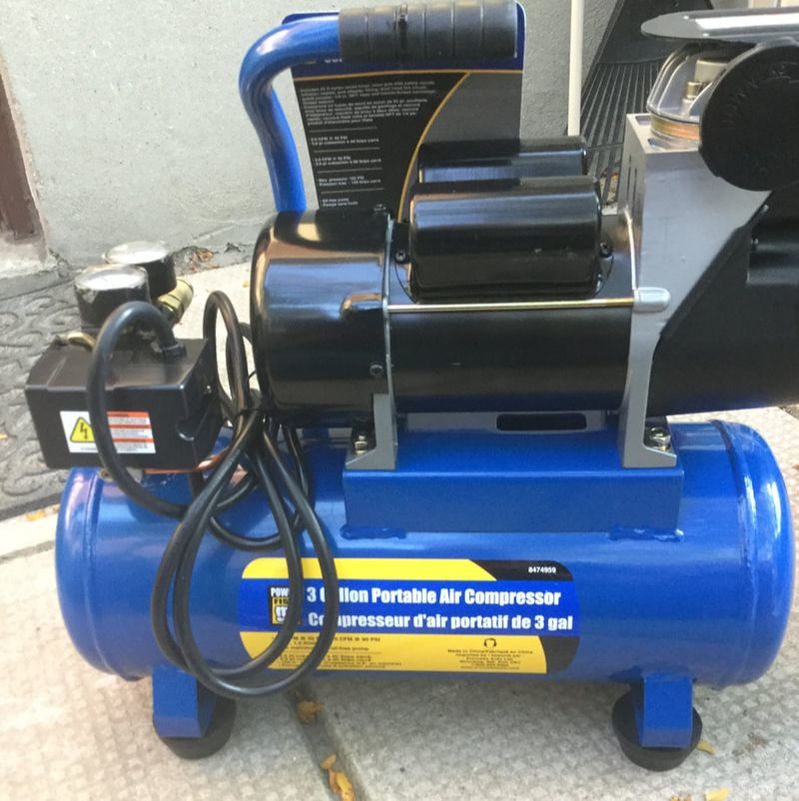 A 3 gallon air compressor purchased from Princess Auto, right out of the box. It is safety rated up to 150 PSI, but the air eraser only operates between 0-55 PSI. This compressor comes with a pressure regulator. It is a bit loud, and it cycles very often due to such a small air tank, but I wanted to make sure I'd be keen on preparation before shelling out over 500 bucks or more for a serious air compressor. I attached all the hoses and teflon-taped each connector to stop up any air leaks. 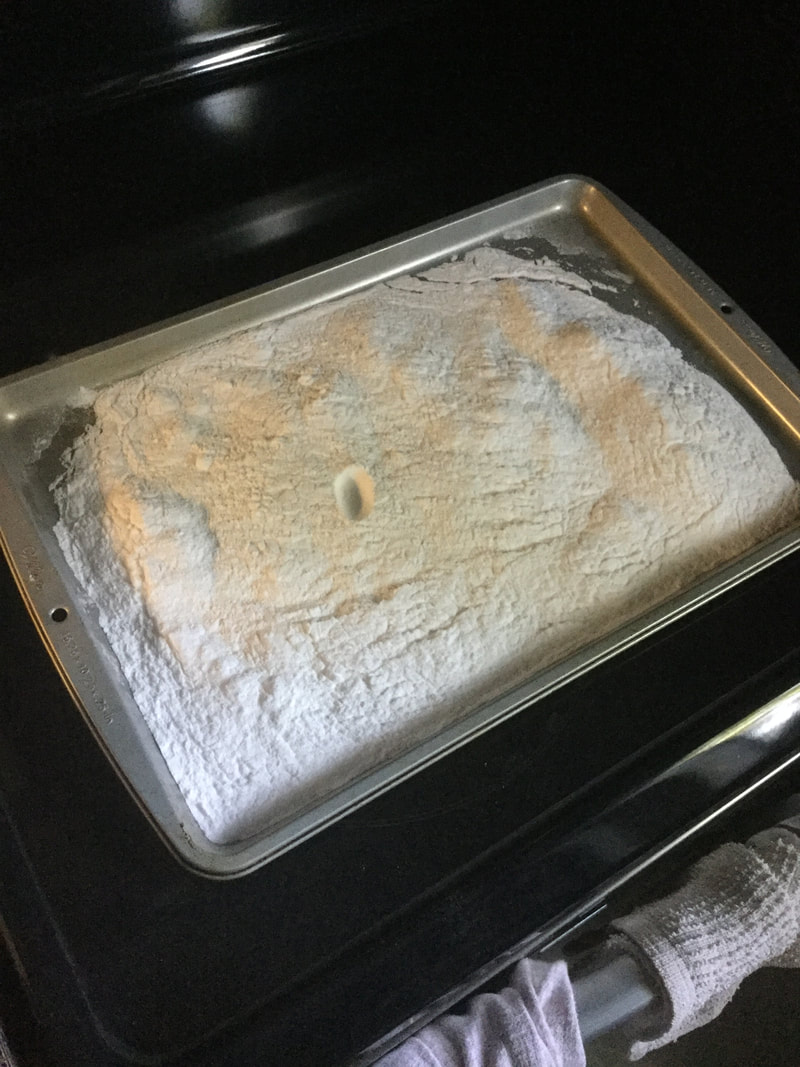 With the hoses all connected and ready, time to bake up some blast medium. I am using plain old baking soda, which should be fine for the kind of shale matrix I usually deal with. I spread this on the cookie sheet, bake at about 250 F for 20 minutes, let cool, and transfer it immediately into an air tight container. As baking soda takes moisture from the air, the baking process gets rid of the moisture, since any of that will cause clumping and clog the air eraser. So I'm ready to roll, but let's take stock of our safety equipment first. When using any blasting equipment where there will be fine particles, you certainly don't want to be breathing them in. As someone who is an ex-smoker, I'm pretty keen on keeping my lungs clean! I use a N95 dust mask, and have an additional high-grade respirator. I use full safety goggles and long thick rubber welding gloves as you don't want to accidentally abrade your hands. I'm doing my test run outdoors in the backyard. This stuff produces a lot of dust. When colder temperatures forces me back indoors, I will be building a sealed blast cabinet, and attaching a dust collection system like a shop vac.
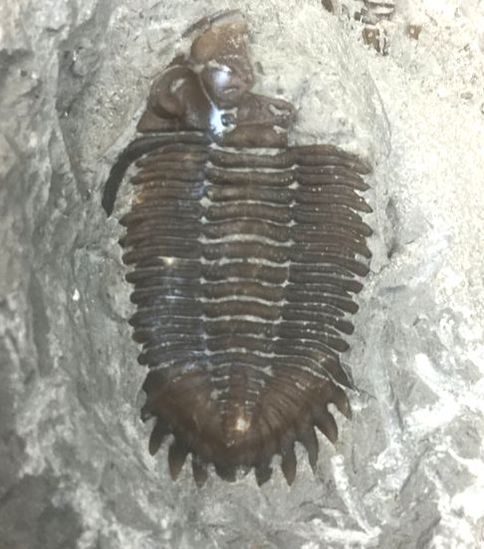
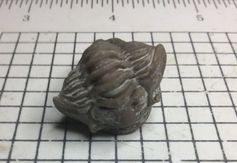
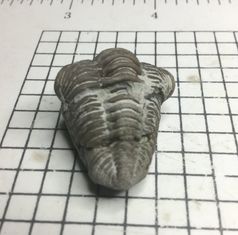
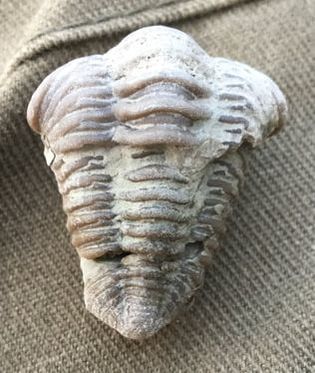
Time for a test run! It took me a few hours of fiddling around to get this thing to work, and I'm still having problems ensuring good air flow and the right amount of medium (if it picks it out of the canister at all). Pictured above is a before and after on a partial Greenops widderensis. I'm beginning my prep on junky pieces first to learn how to use this tool. No sense going right for the prize specimens and risking ruining them. As you can see, after about 5 minutes of abrasion, it has done an ok job removing excess matrix in the nooks and crannies, as well as matrix around the bug. Much finer, detail work may require affixing modified dispensers of about 18 or 20 gauge. 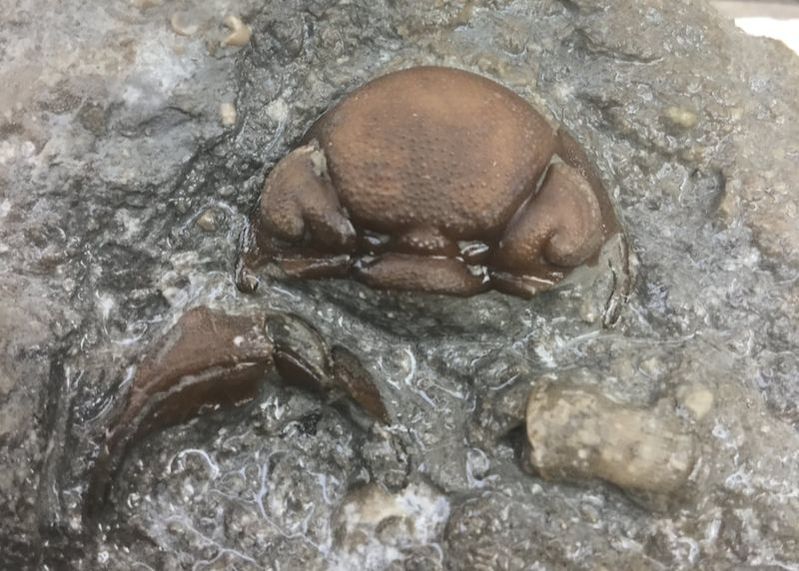 My next victim was this Eldredgeops rana cephalon from Arkona. Not too shabby. It can be slow going, so patience is required. 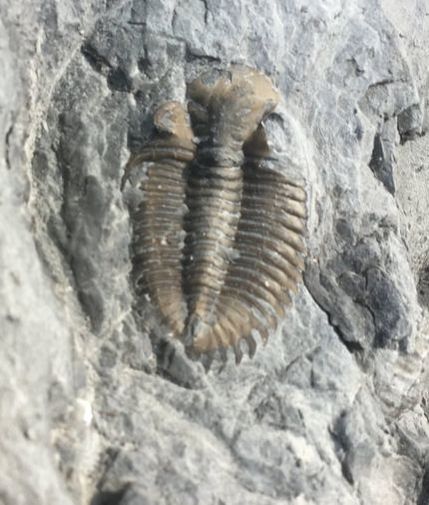 Another partial Greenops practice dummy. I love how it brings out the chocolate brown and gets rid of the dusty grey.
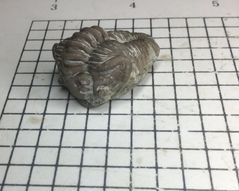
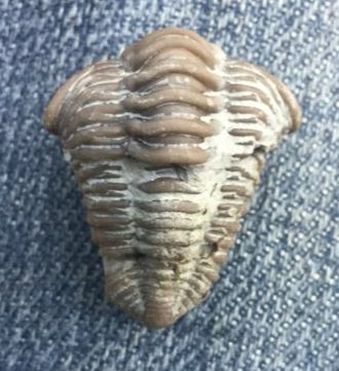
This is a semi-prone Flexicalymene senaria I picked up in Brechin, Ontario. This one is not only going to need a lot more work, but perhaps a stronger blasting medium than baking soda, such as dolomite given that the matrix is tougher than Widder or Penn Dixie shale. Still, a lot more detail is visible now compared to when I found it!
And just a quick before and after pic. The first is when I found it in the field, and the second after a bit of prep.
I did try out a few other specimens not pictured here. It seems to do a pretty good job on some brachiopods. I still have a great deal to learn about how to properly use this tool, and will be asking advice of prep experts, and practicing. Stay tuned: my next anticipated trip will be a return to Penn Dixie in October.
Tom Oberhofer
6/27/2019 06:07:16 pm
Kane, I came across your blog looking for prepping guides and this is very helpful. Does the compressor pictured here work for you, other than the noise, or did you find a material difference if you went to a larger unit. I plan to start with a borrowed pancake compressor and, like you, see how this works before I end up making a bigger commitment. I expect I too will start outside, which is easier in Florida, before I get to the blast box. Did having the box change the quality of your product, or just allow a cleaner and more year round activity? (The notify me of posts was not functional on my Ipad.) Comments are closed.
|
Kane Faucher
Archives
February 2024
|

 RSS Feed